

5 Shooting Techniques for High Pressure Situations
When time and space disappear, players need shots that survive pressure: faster releases, better deception, and cleaner execution from imperfect positions. For coaches, that means teaching hockey shooting techniques under pressure that actually hold up when defenders close quickly and goalies are already moving.
Below are five high-pressure hockey shooting techniques coaches can teach, with clear explanations of why they work, what typically breaks down in games, and how to train them consistently inside structured practices using CoachThem. These techniques translate directly into better shot quality, faster decisions, and more goals when games tighten up.
Below each category, you’ll find real CoachThem drills that bring each shooting technique to life in a variety of ways. See a green camera icon? That means the drill includes a video - just log into CoachThem, find the drill in the Marketplace via Search, and select the camera icon to watch the video.
1. Catch-and-Release Shots (One-Timers + Shooting off the Pass)
Mechanics
Catch-and-release means receiving the puck and shooting in one continuous motion, without stopping or settling it first. For one-timers, the player pre-loads early and times the downswing so the stick meets the puck the moment it arrives. For quick wristers off the pass, it’s soft hands plus an immediate roll into the release, so the puck never “dies” on the blade.
Key details coaches should consistently reinforce:
- Stick presented early as a clear target (blade slightly off the ice)
- Blade angle controlled (slightly open to accept the pass cleanly)
- Body stays aligned to the net even while tracking the pass
- Weight is ready to transfer forward as the puck arrives
- The puck’s incoming speed becomes part of the shot instead of being absorbed and stopped
These mechanics are especially important when planning shooting under pressure drills in CoachThem, where preparation matters more than raw power.
Why it wins under pressure
This technique removes reaction time from defenders and goalies. Defensive coverage is often rotating after a pass, and goaltenders are still adjusting laterally. A true catch-and-release arrives before the goalie can set their edges and before sticks can get into the lane. It’s also one of the most consistent ways to create rebounds in traffic because the shot gets through quickly and forces imperfect saves.
Common mistakes
Most breakdowns come from hesitation or poor readiness.
- Stiff hands (puck bounces / whiffs)
- Flat-footed “waiting for the puck”
- Feet/hips not aligned to the net (shot sails wide)
- Looking down too long (hesitation)
- Double-clutching (receive → settle → shoot)
Training drills & constraints
Effective drills reward preparation and decisiveness while punishing extra touches.
- Corner pass to slot: must shoot immediately
- One-timer station: rapid feeds to different pass angles
- Wall rebound one-timers (timing + soft hands)
- Small-area game: one-touch only (passes or shots)
Coach tip: In CoachThem, you can search Catch and Release within our Marketplace and browse through a variety of drills.
Marketplace Example: Knee Drop One Timers
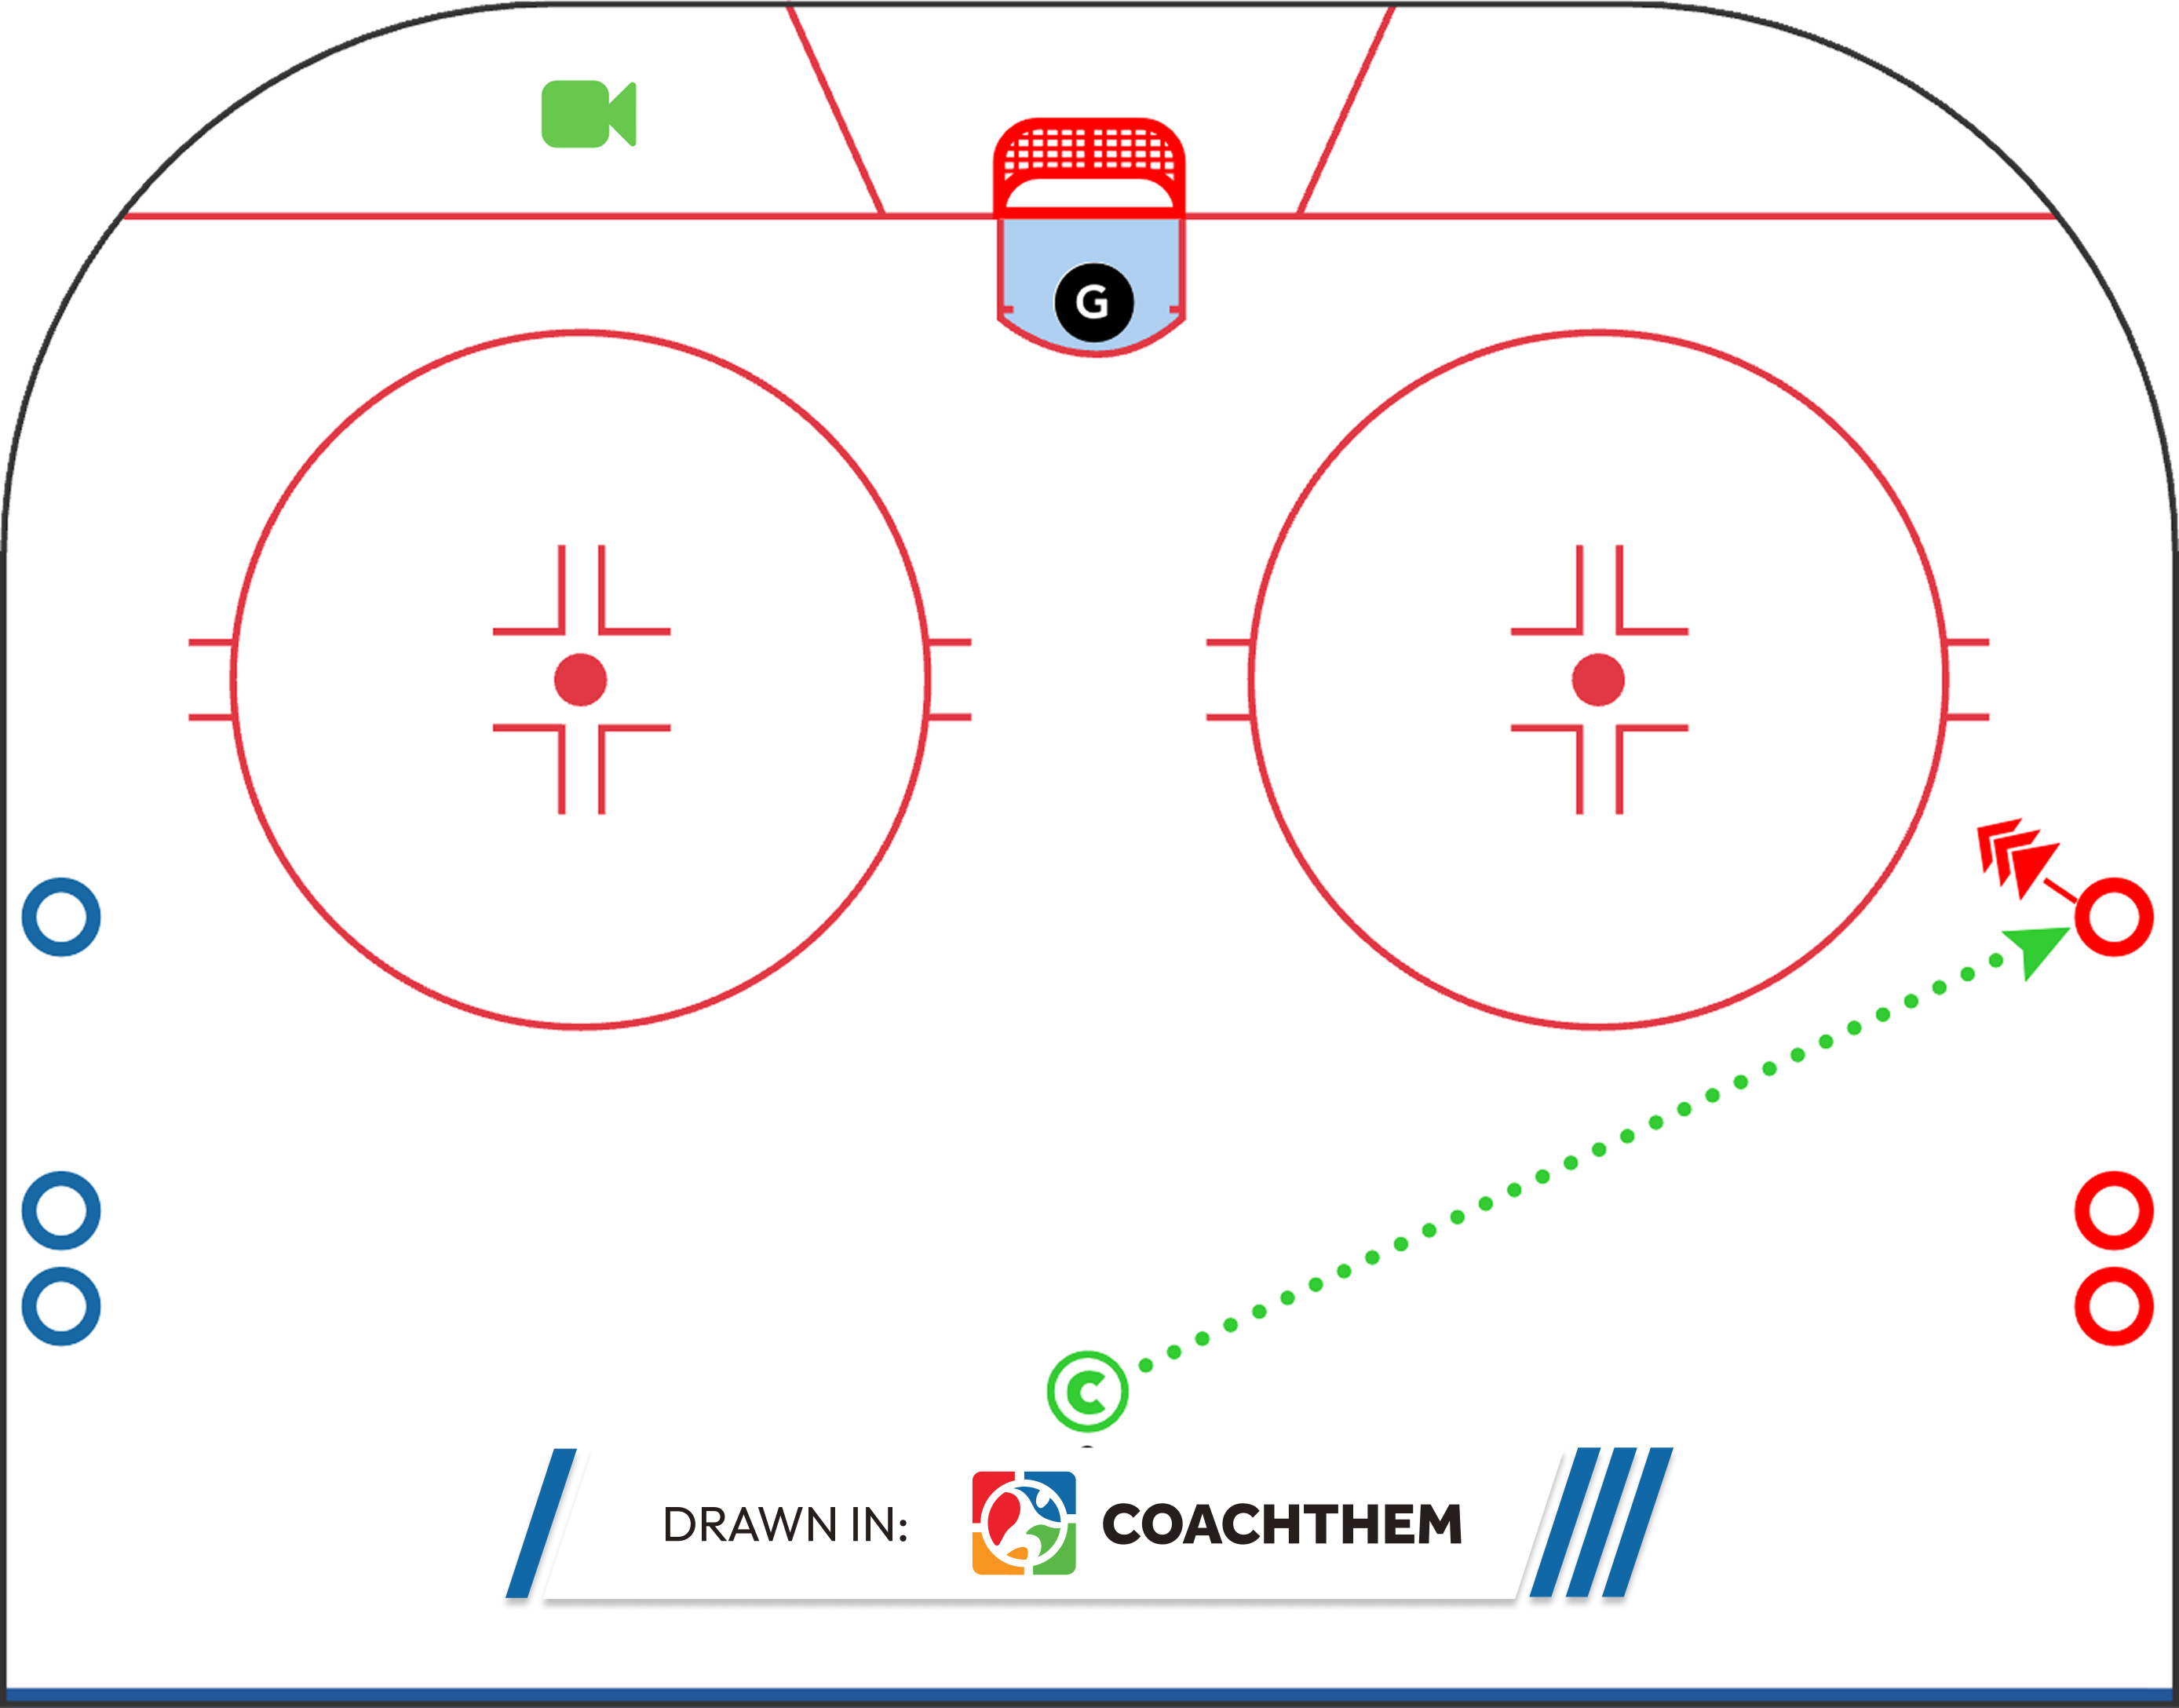
Drill concept by: @huhockey
Marketplace Example: One Timer Off The Rebound
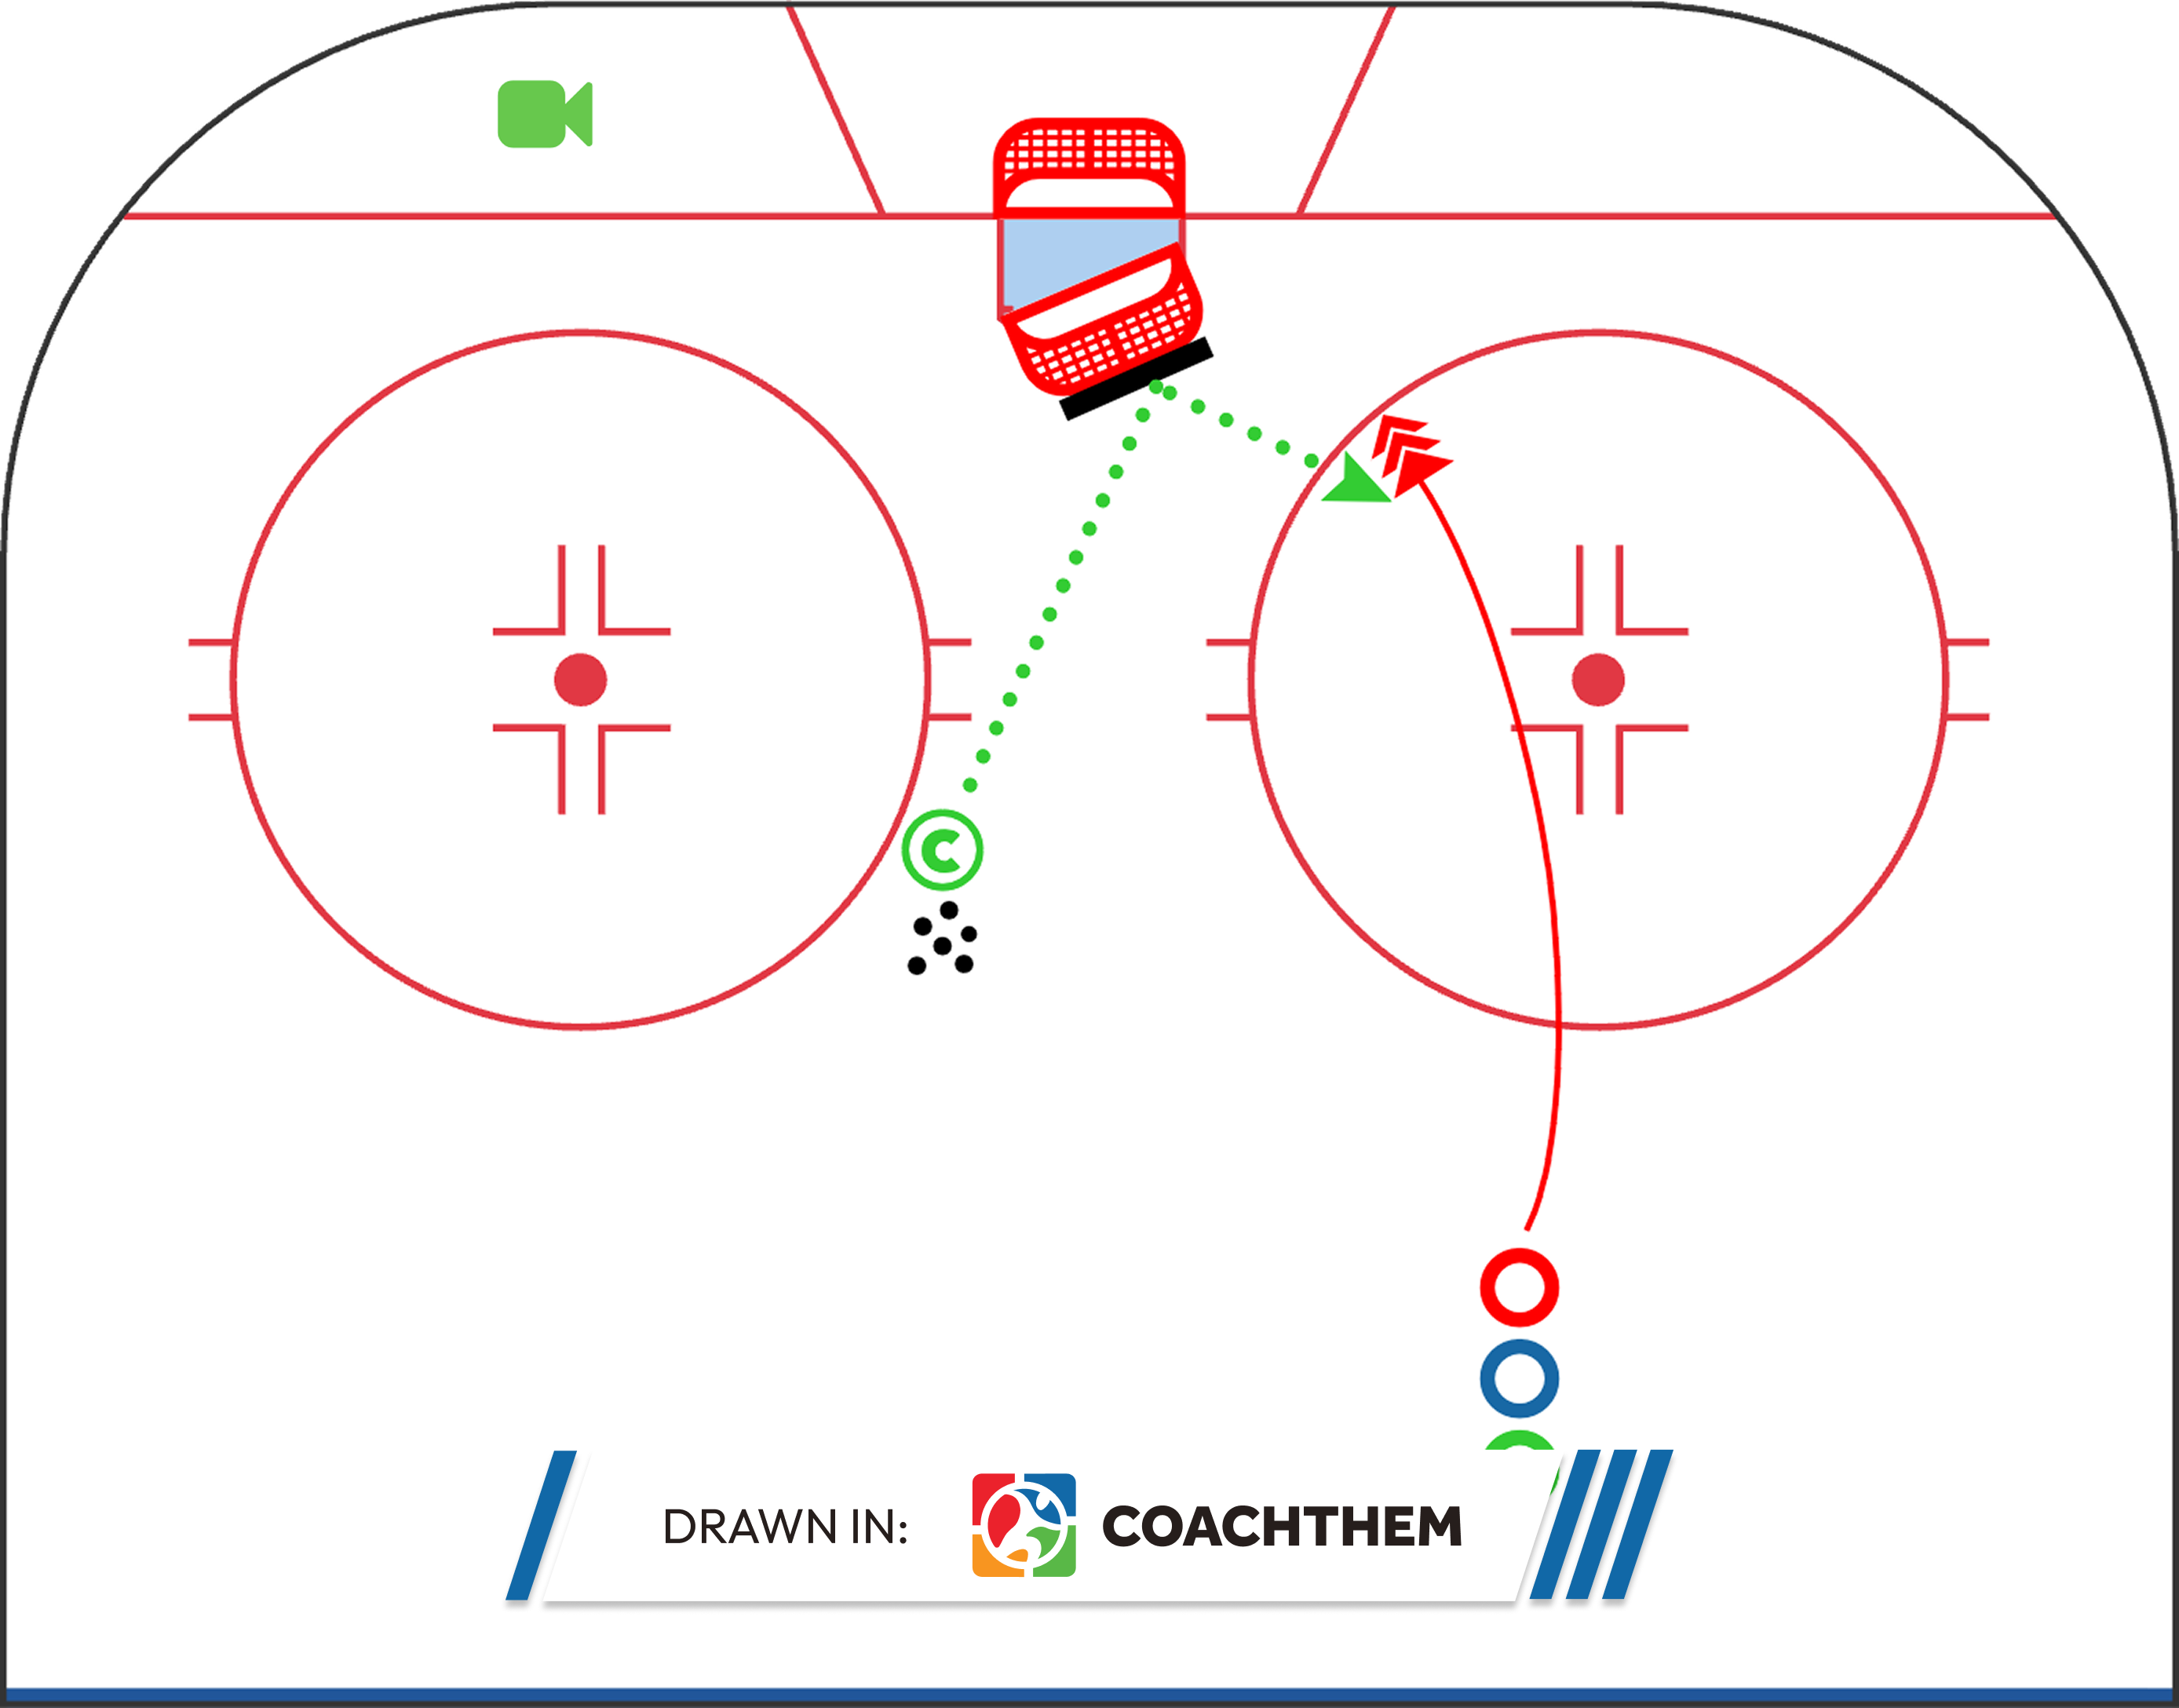
Drill concept by: @sutterskillsdevelopment
Marketplace Example: One Timer Shooting Drill
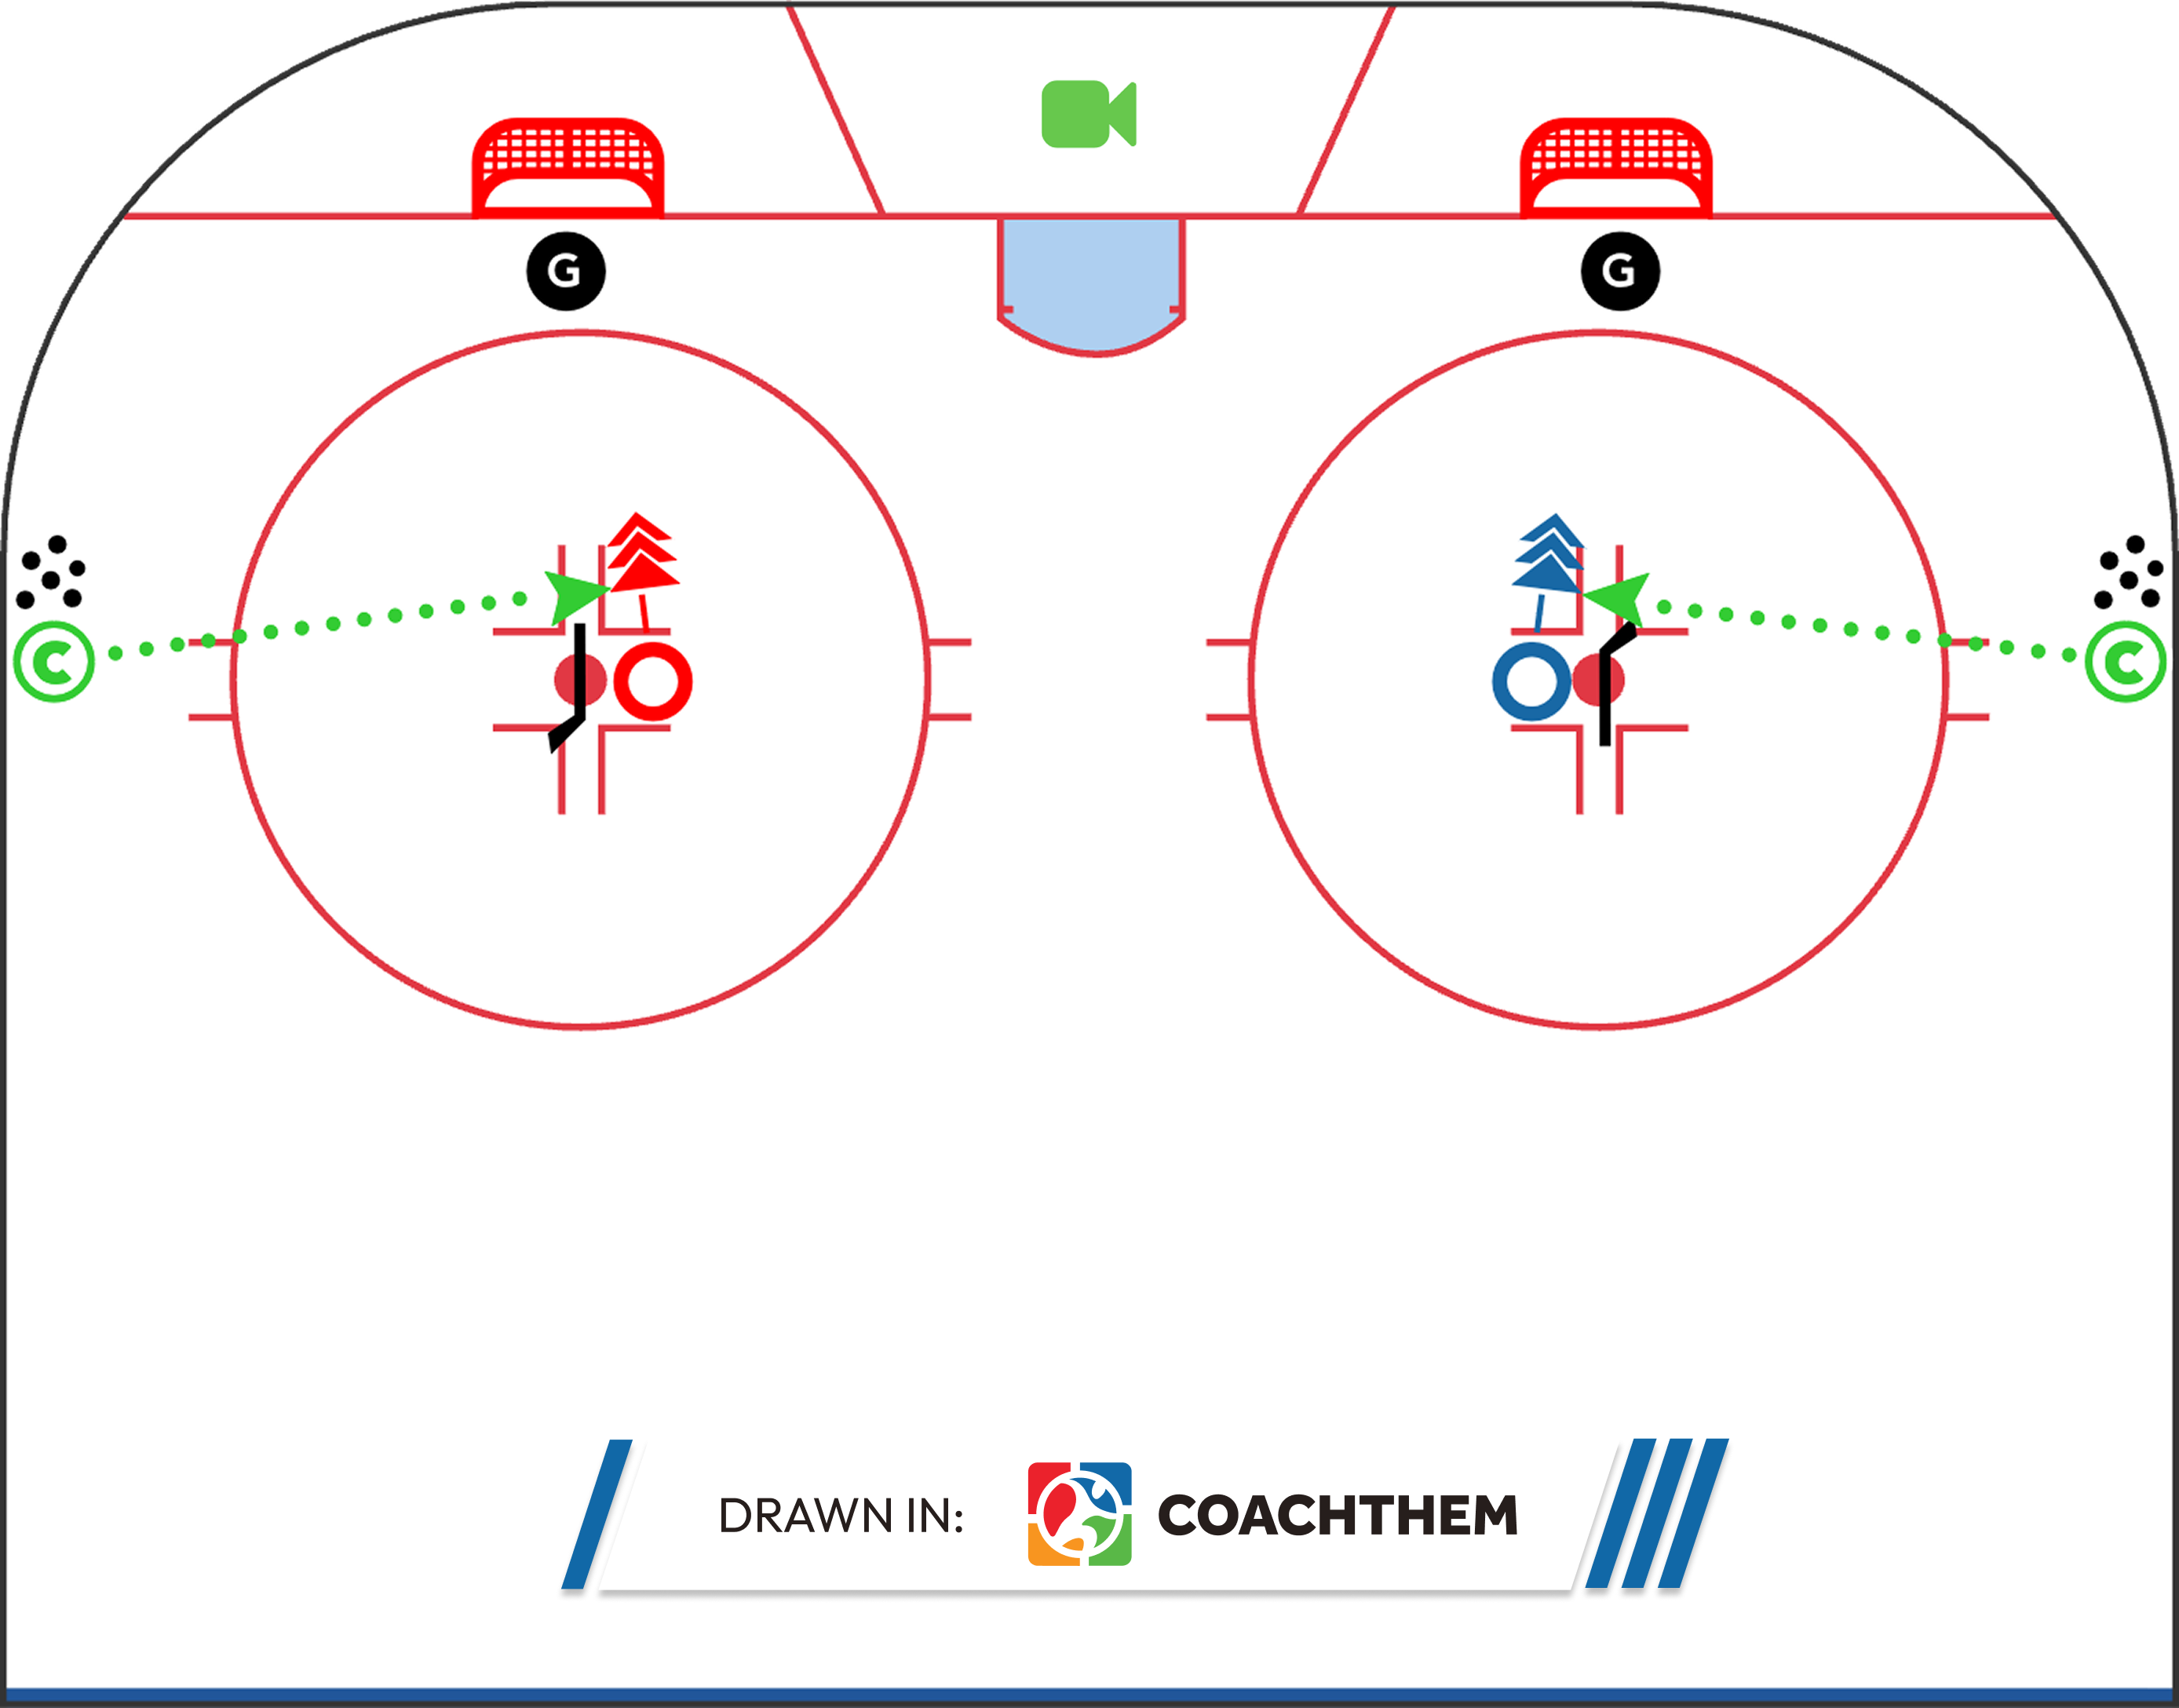
Drill concept by: @prodero_hockey
2. Drag Shot (Changing the Shooting Angle)
Mechanics
The drag shot changes the release point by pulling or pushing the puck laterally before snapping it from a new angle. The motion must stay compact and efficient, blending directly into the shot rather than becoming extended stickhandling.
Key mechanical cues:
- Top hand leads the lateral move (hands must stay away from the body)
- Bottom hand loads the stick during the drag (you’re loading while the puck is moving)
- Blade cups slightly during the drag and opens on release
- Weight transfer finishes into the shot (outside leg to inside leg on an inside drag)
- Minimal backswing: drag + snap, not drag + set + shoot
Why it wins under pressure
Goalies set their positioning based on puck location. A quick lateral change forces late adjustments and often opens space around legs, sticks, and shot blocks. This is especially effective against aggressive defenders who commit early to blocking lanes.
Common mistakes
When rushed or overused, the drag loses its deceptive value.
- Top hand stuck close to the body (no real angle change)
- Drag too wide or slow (telegraphs the move)
- No weight transfer (weak shot)
- Body still aimed at the “old” angle (misses wide)
- Over-handling (extra drags kill the window)
Training drills & constraints
Players need repetitions that emphasize timing, not flair.
- Stationary drag-and-shoot around a stick or cone
- “Triangle” obstacle: skate in, drag around a marker, release
- Live defender: defender shows stick lane, shooter drags opposite
- Constraint game: goals count only after a lane change before shooting
Coach tip: Teach this as a lane-creation tool, not a highlight move. If the drag doesn’t immediately create a lane, the player needs a second option (pass, chip, reset), not a second drag.
Marketplace Example: Quick Release in Small Space
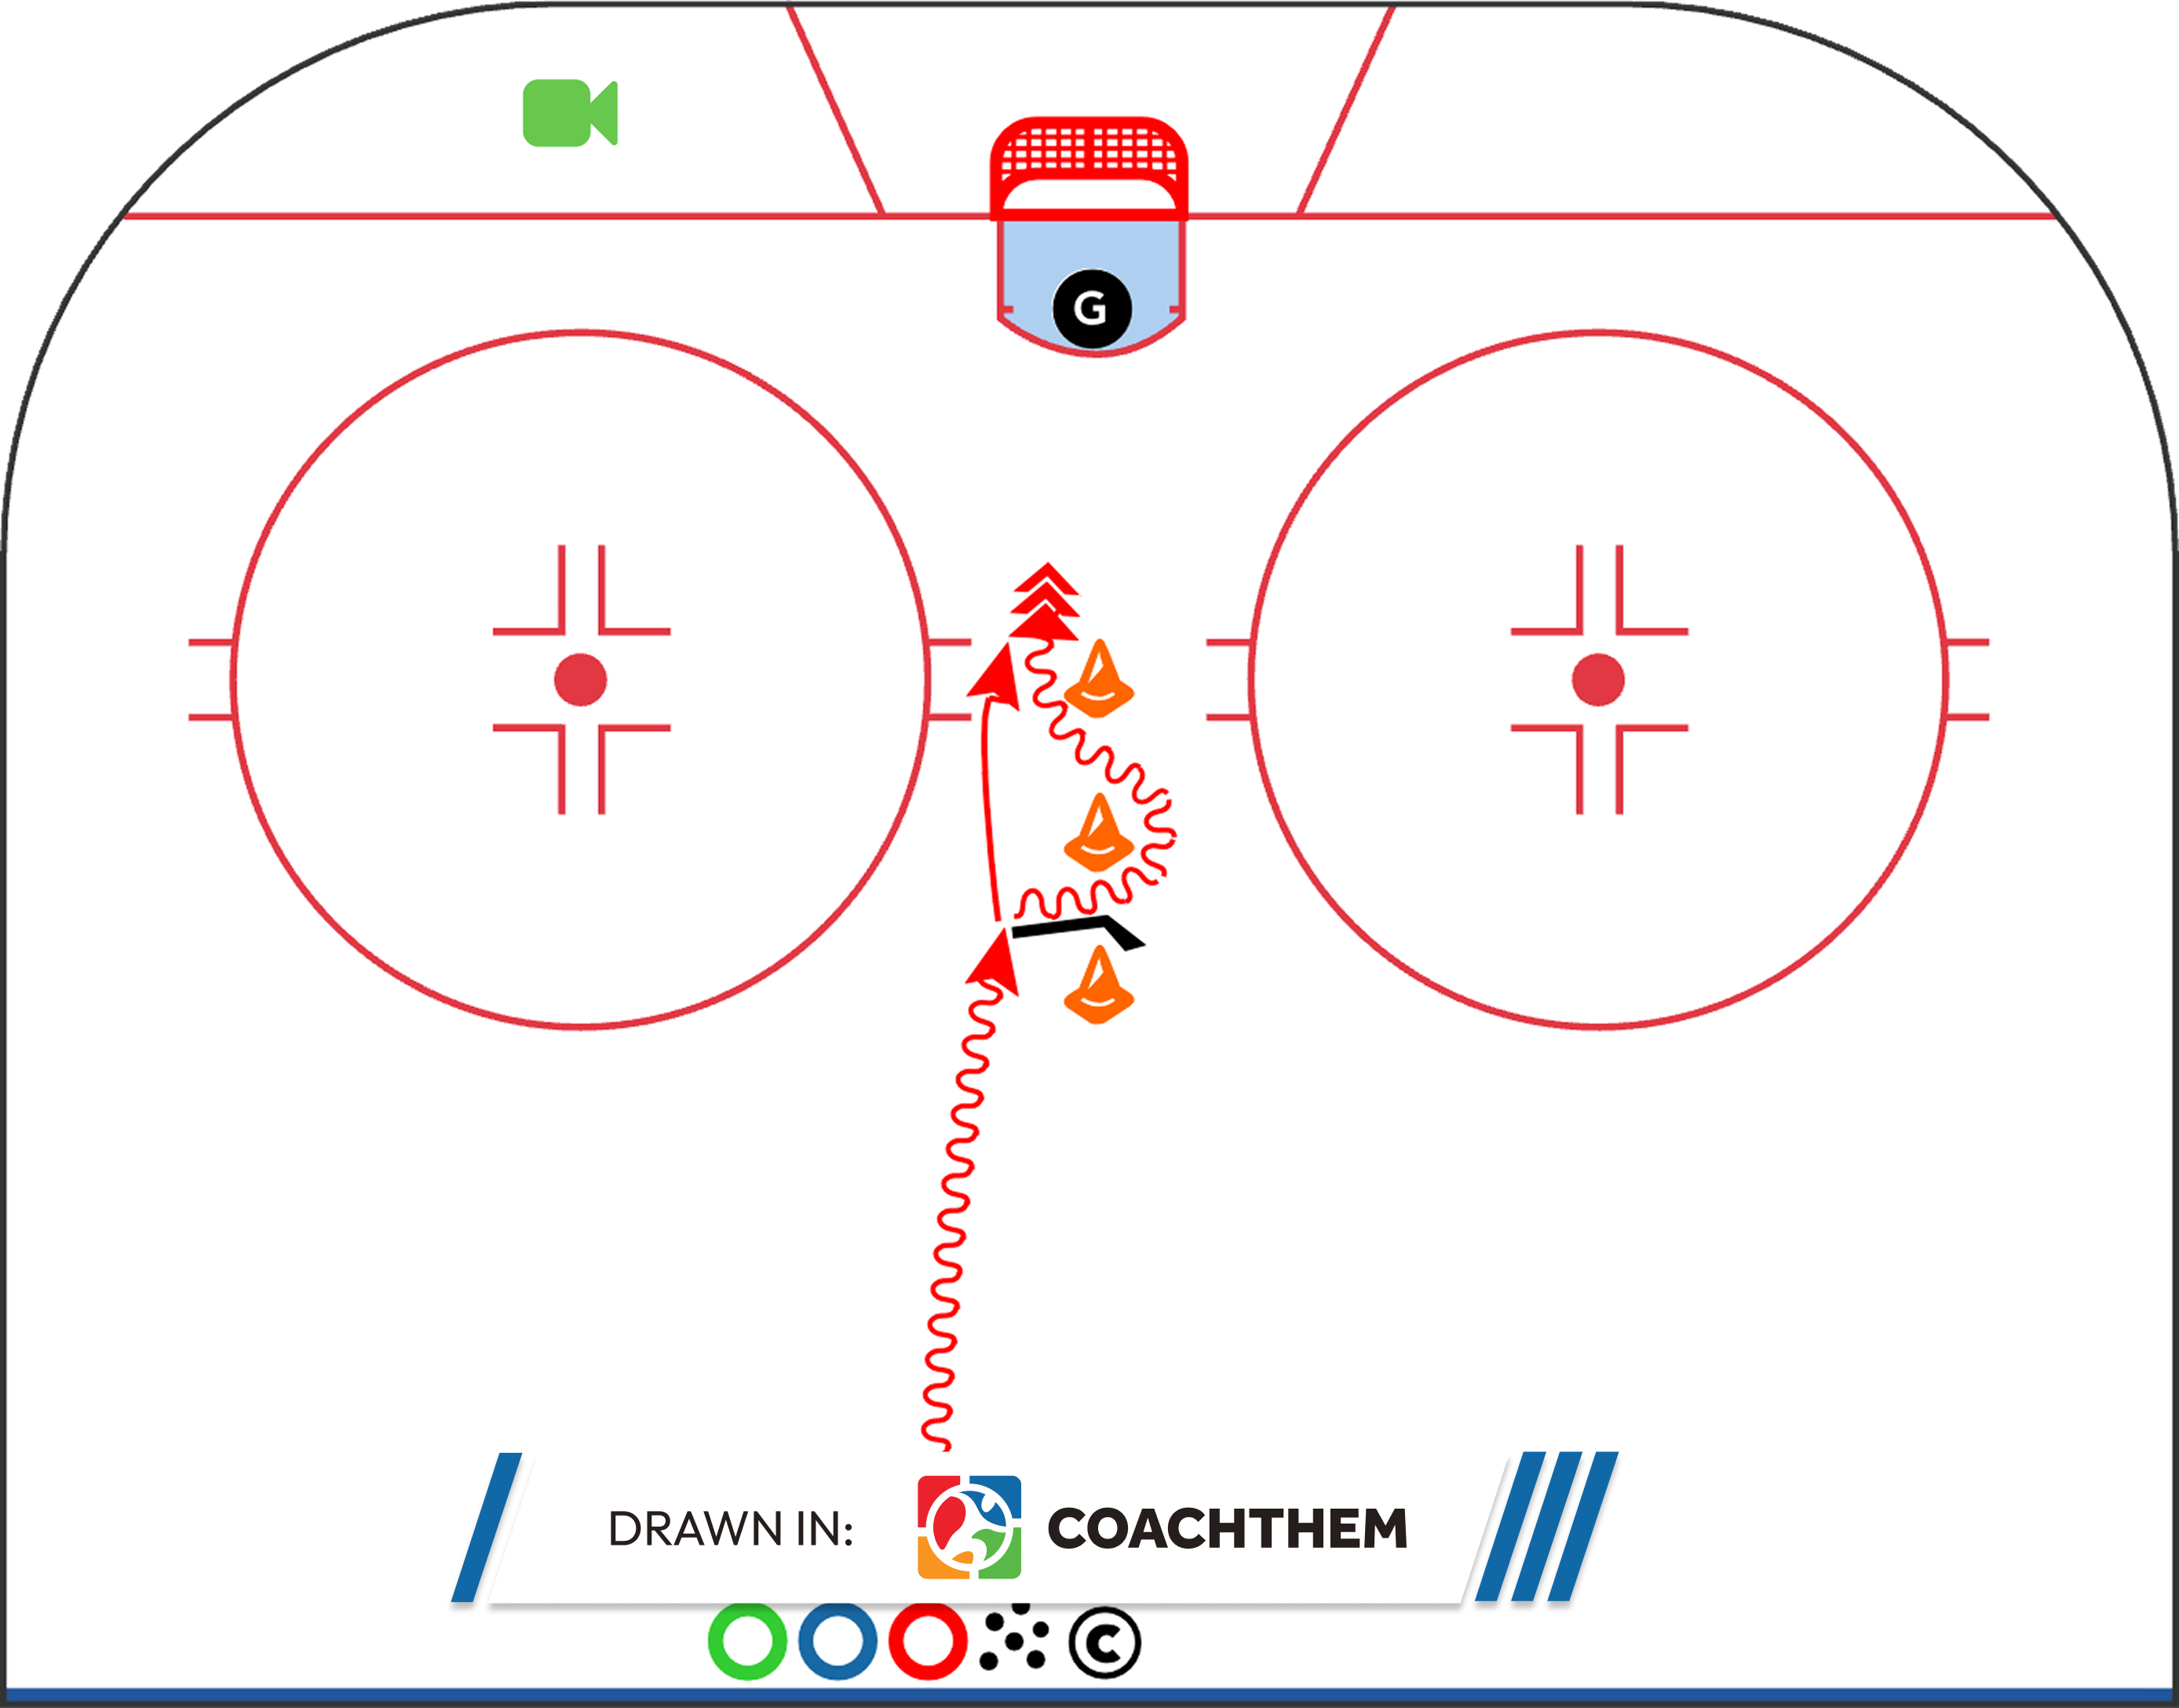
Drill concept by: @firstshift.hockey
Marketplace Example: Drag and Shoot
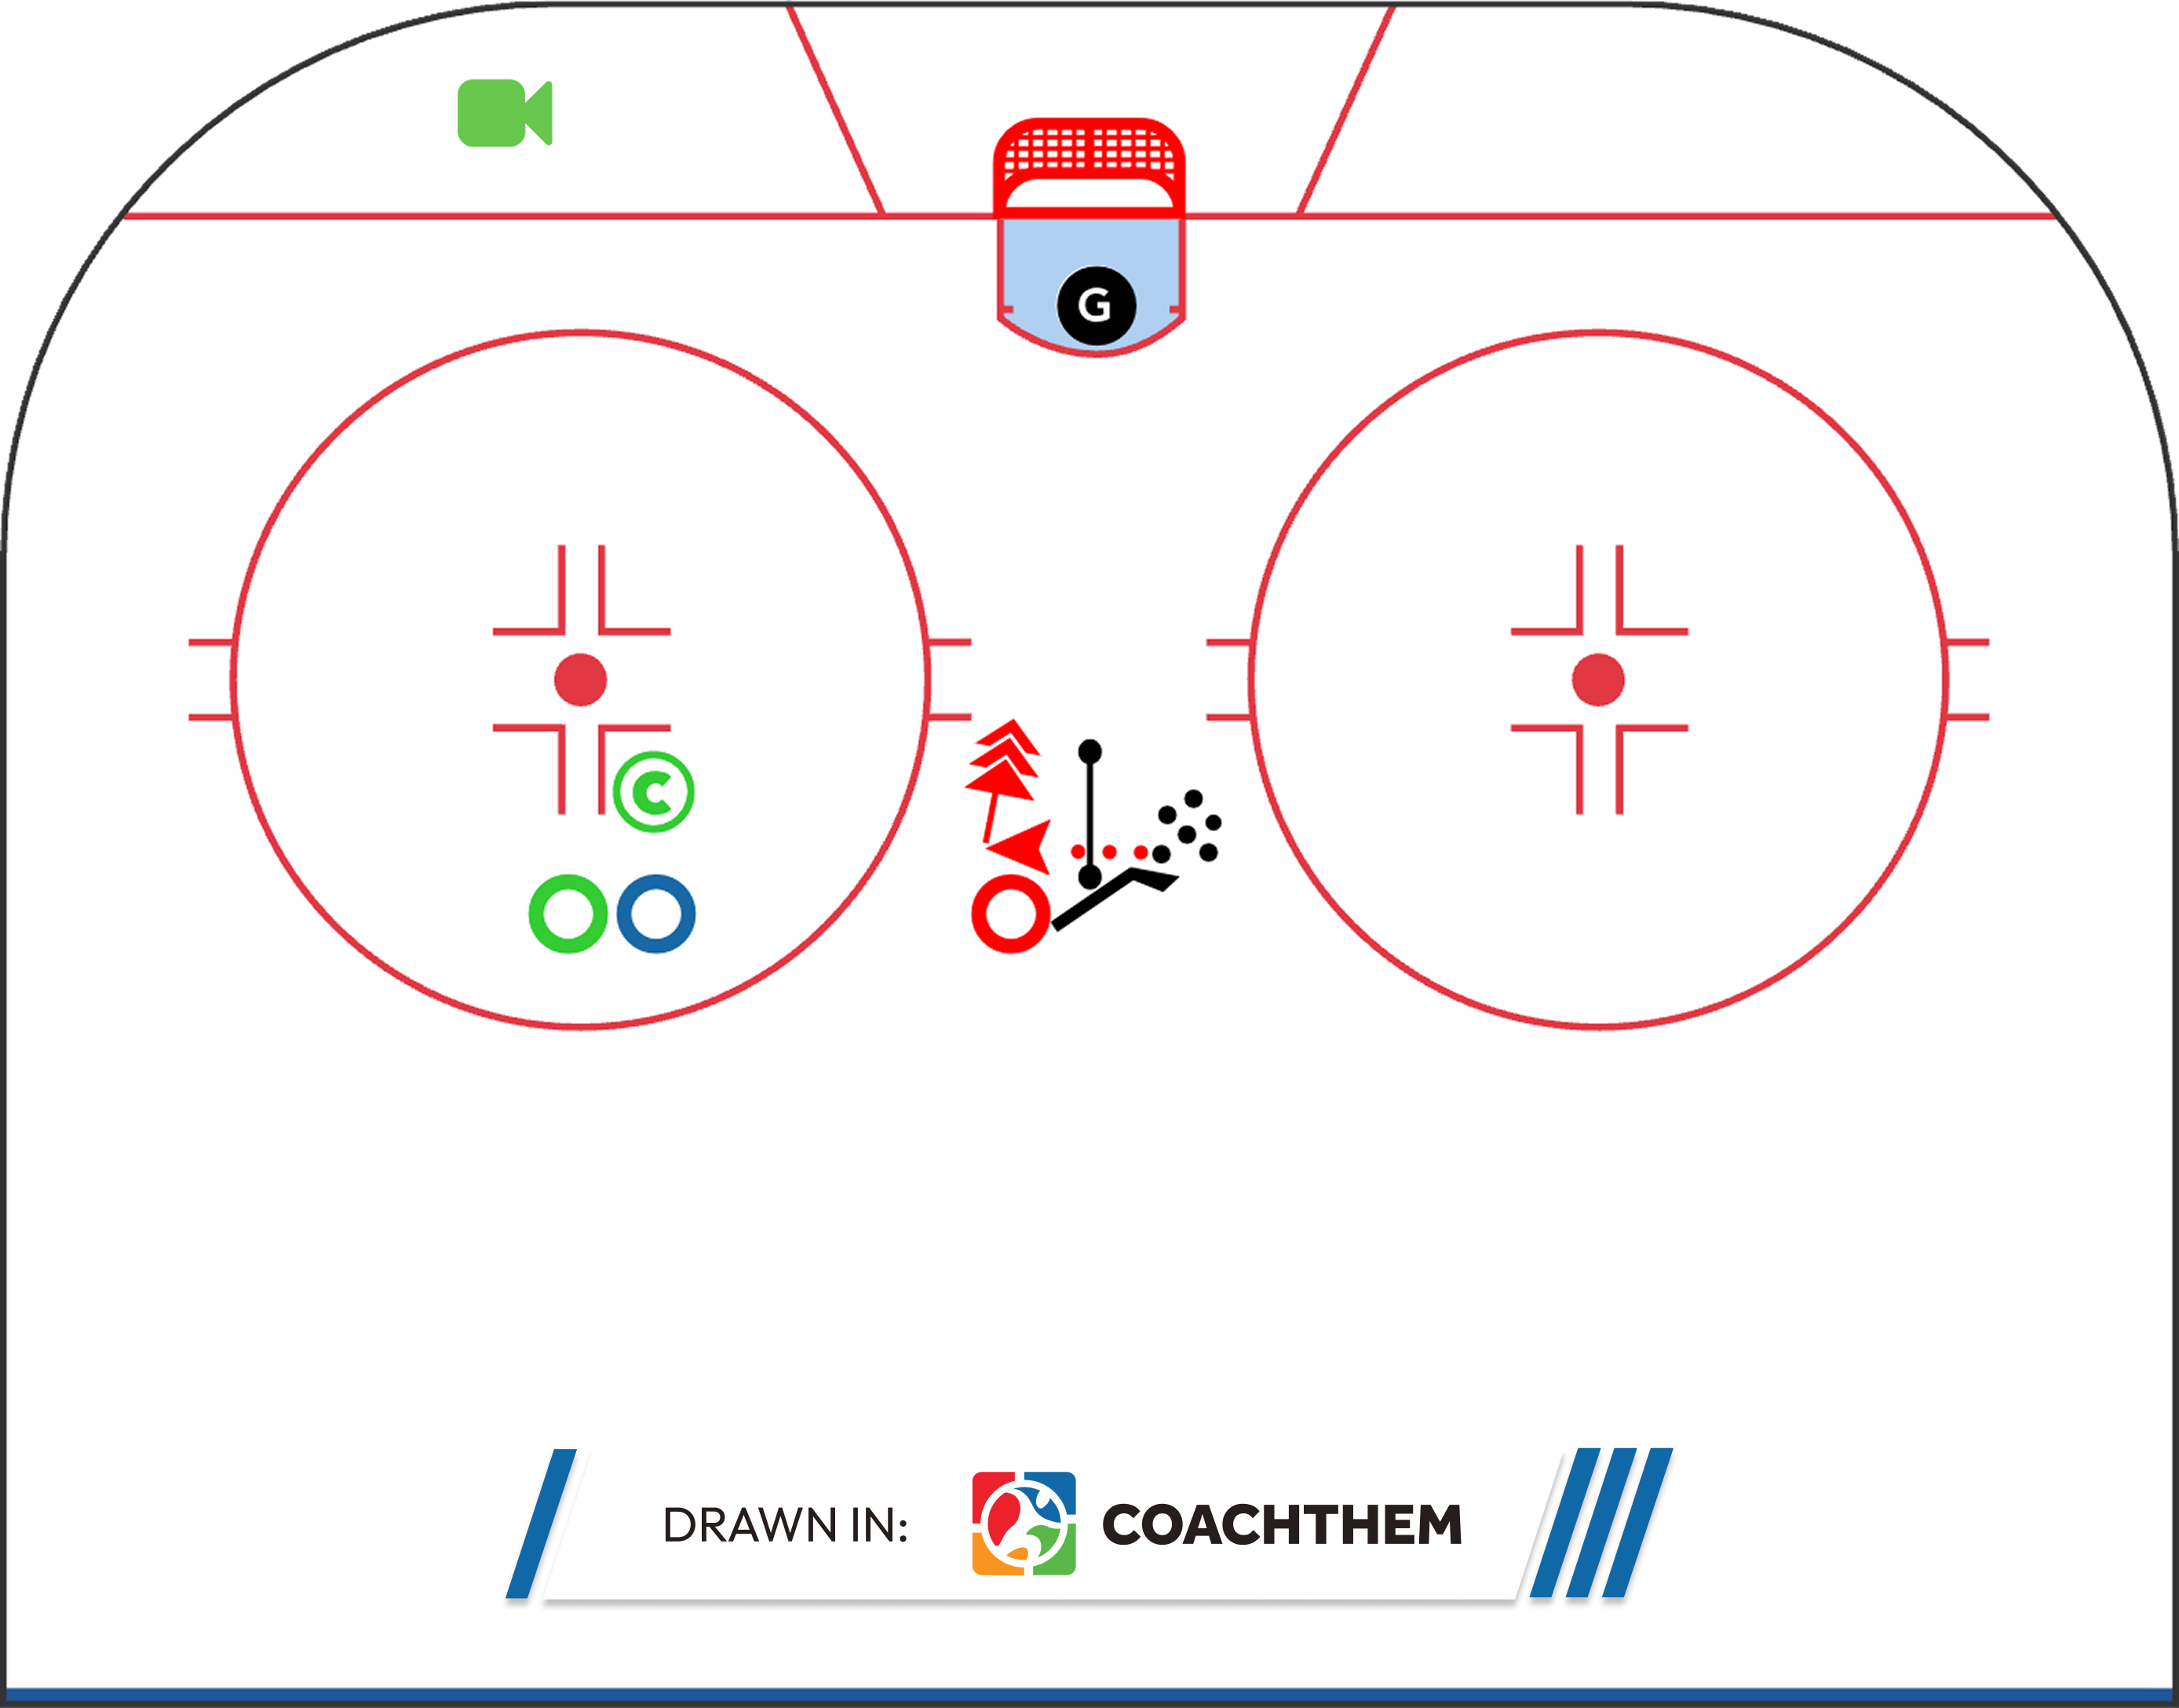
Drill concept by: @jschiavo44
Marketplace Example: Drag and Shoot Through Tire
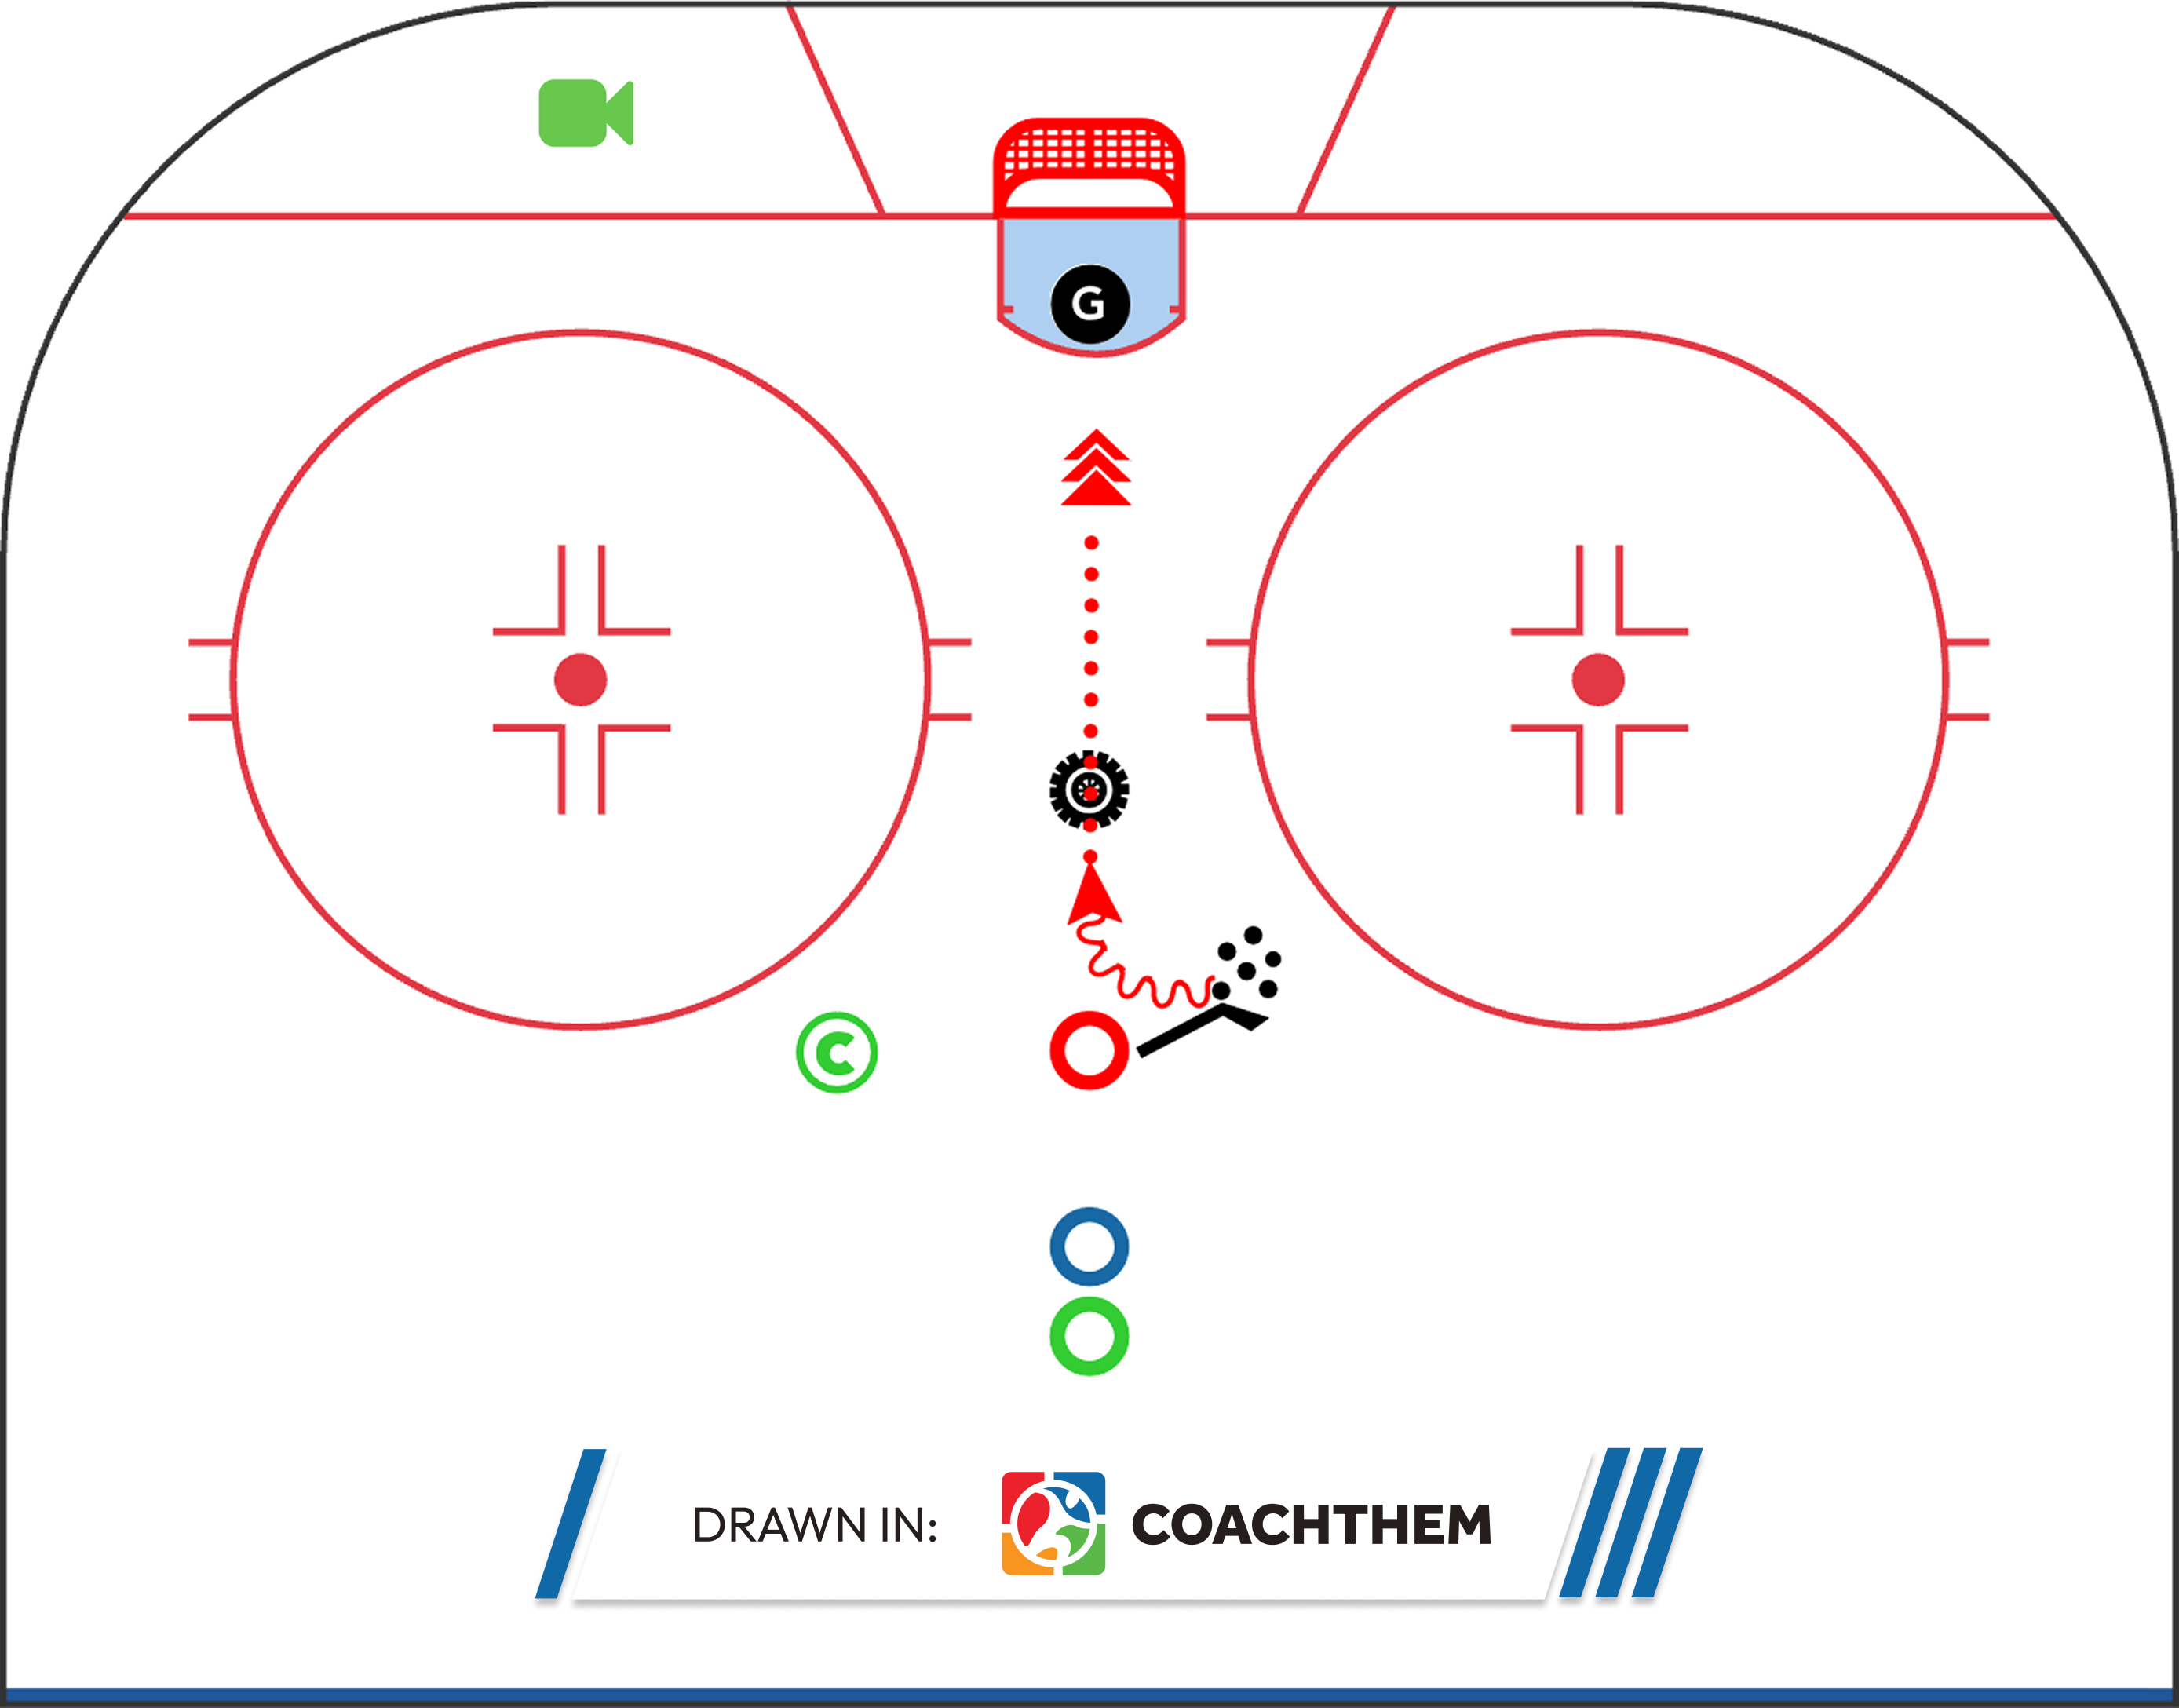
Drill concept by: @jschiavo44
Marketplace Example: Forehand Toe Drag
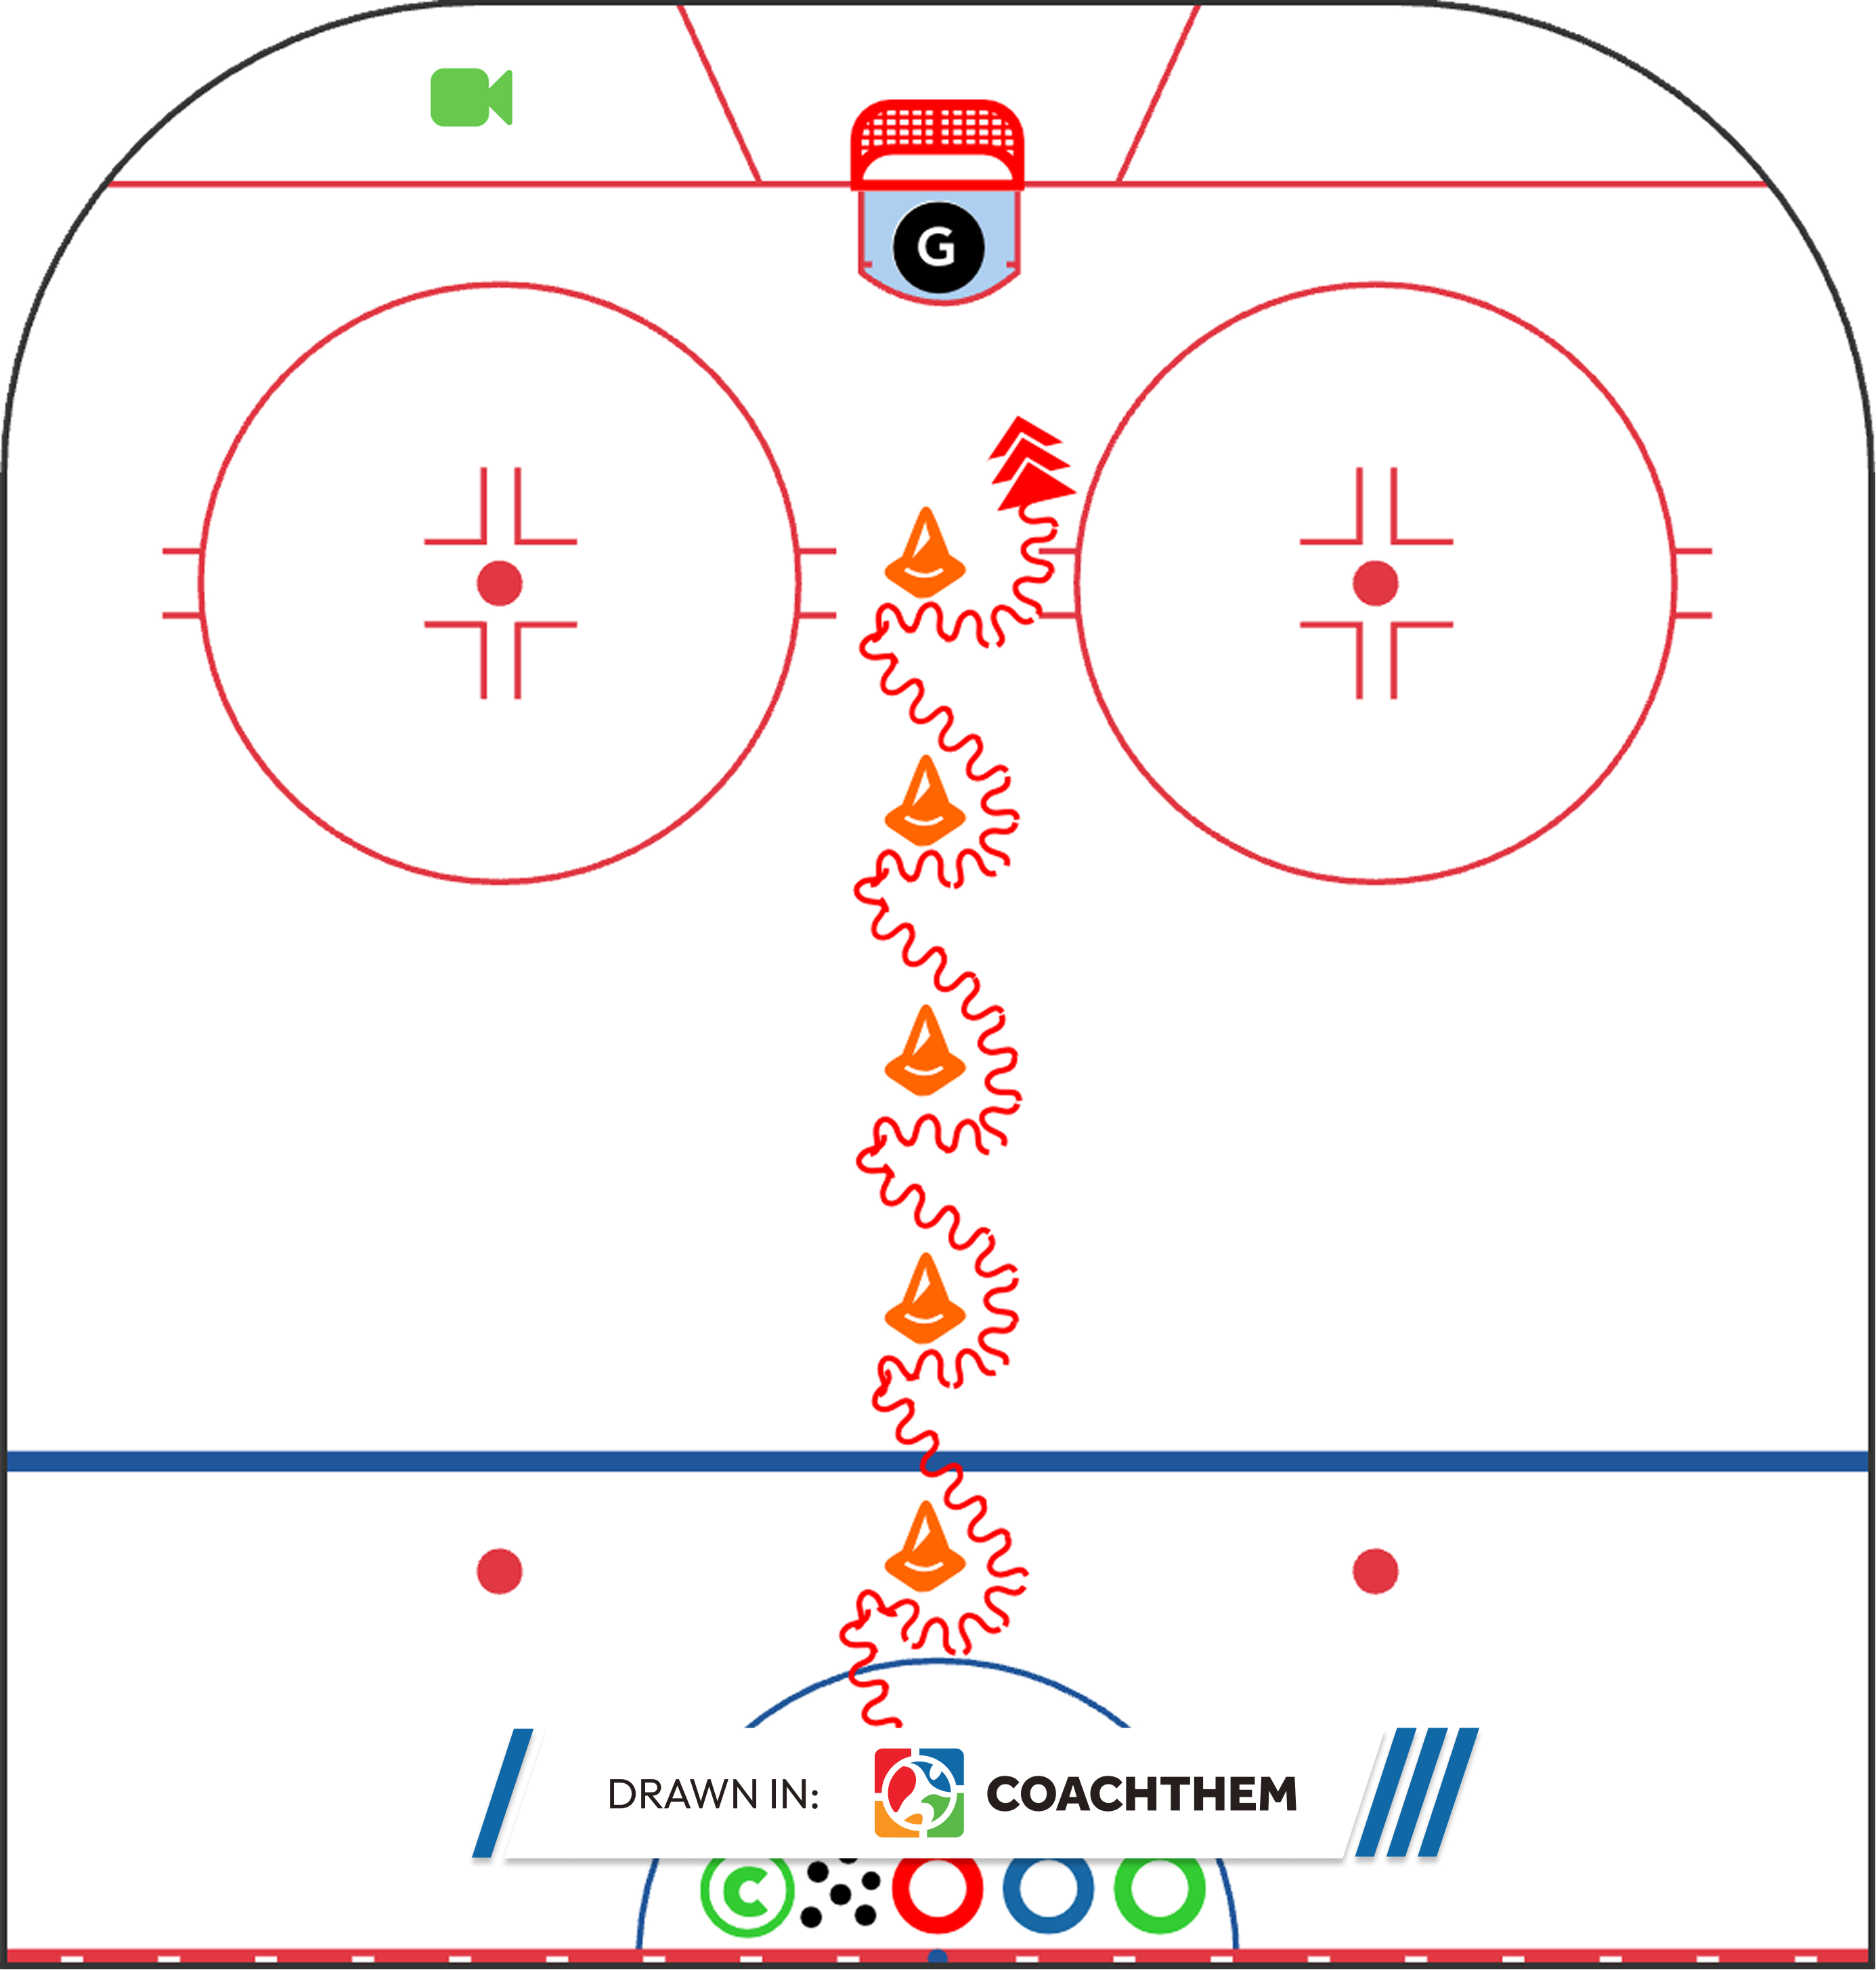
Drill concept by: @hockeyskills_emirates_theebs
3. Quick-Release Snap Shot
Mechanics
The quick-release snap shot minimizes wind-up and relies on clean push-pull hand mechanics. The stick loads just behind the puck, contacts the ice, and releases before defenders or goalies can react. The difference between “fast” and “game-fast” is usually these small points:
- Hands stay away from the body (push-pull can’t happen if elbows collapse)
- Stick contacts the ice just behind the puck to generate flex
- Weight snaps onto the front foot quickly (even if it’s a small shift)
- The motion stays short and quiet (no big shoulder tell)
- Power comes from timing and flex, not a bigger backswing
Why it wins under pressure
Without a visible setup, defenders lose timing cues and goaltenders struggle to read the release. In tight spaces, speed of execution matters more than shot power, which is why this shot shows up so often in high-pressure scoring situations.
Common mistakes
Under pressure, players revert to habits that slow the release.
- Long wind-up or extra stickhandles
- Hands tight to the body
- All arms, no weight transfer
- Extra settling touch
- Eyes glued to the puck
Training drills & constraints
Drills should reduce time and space to force commitment.
- Rapid-fire feeds: shoot on contact, reset instantly
- “One-stride rule”: receive → one stride max → release
- Trailing pressure: defender closes after the pass
- Small-area 3v3: over-handling = turnover
Coach tip: Make “hit the net” the standard, not “pick the perfect corner.” Under pressure, a fast shot on net creates chaos and rebounds, missing the net kills the entire possession.
Marketplace Example: Quick Snap Shot
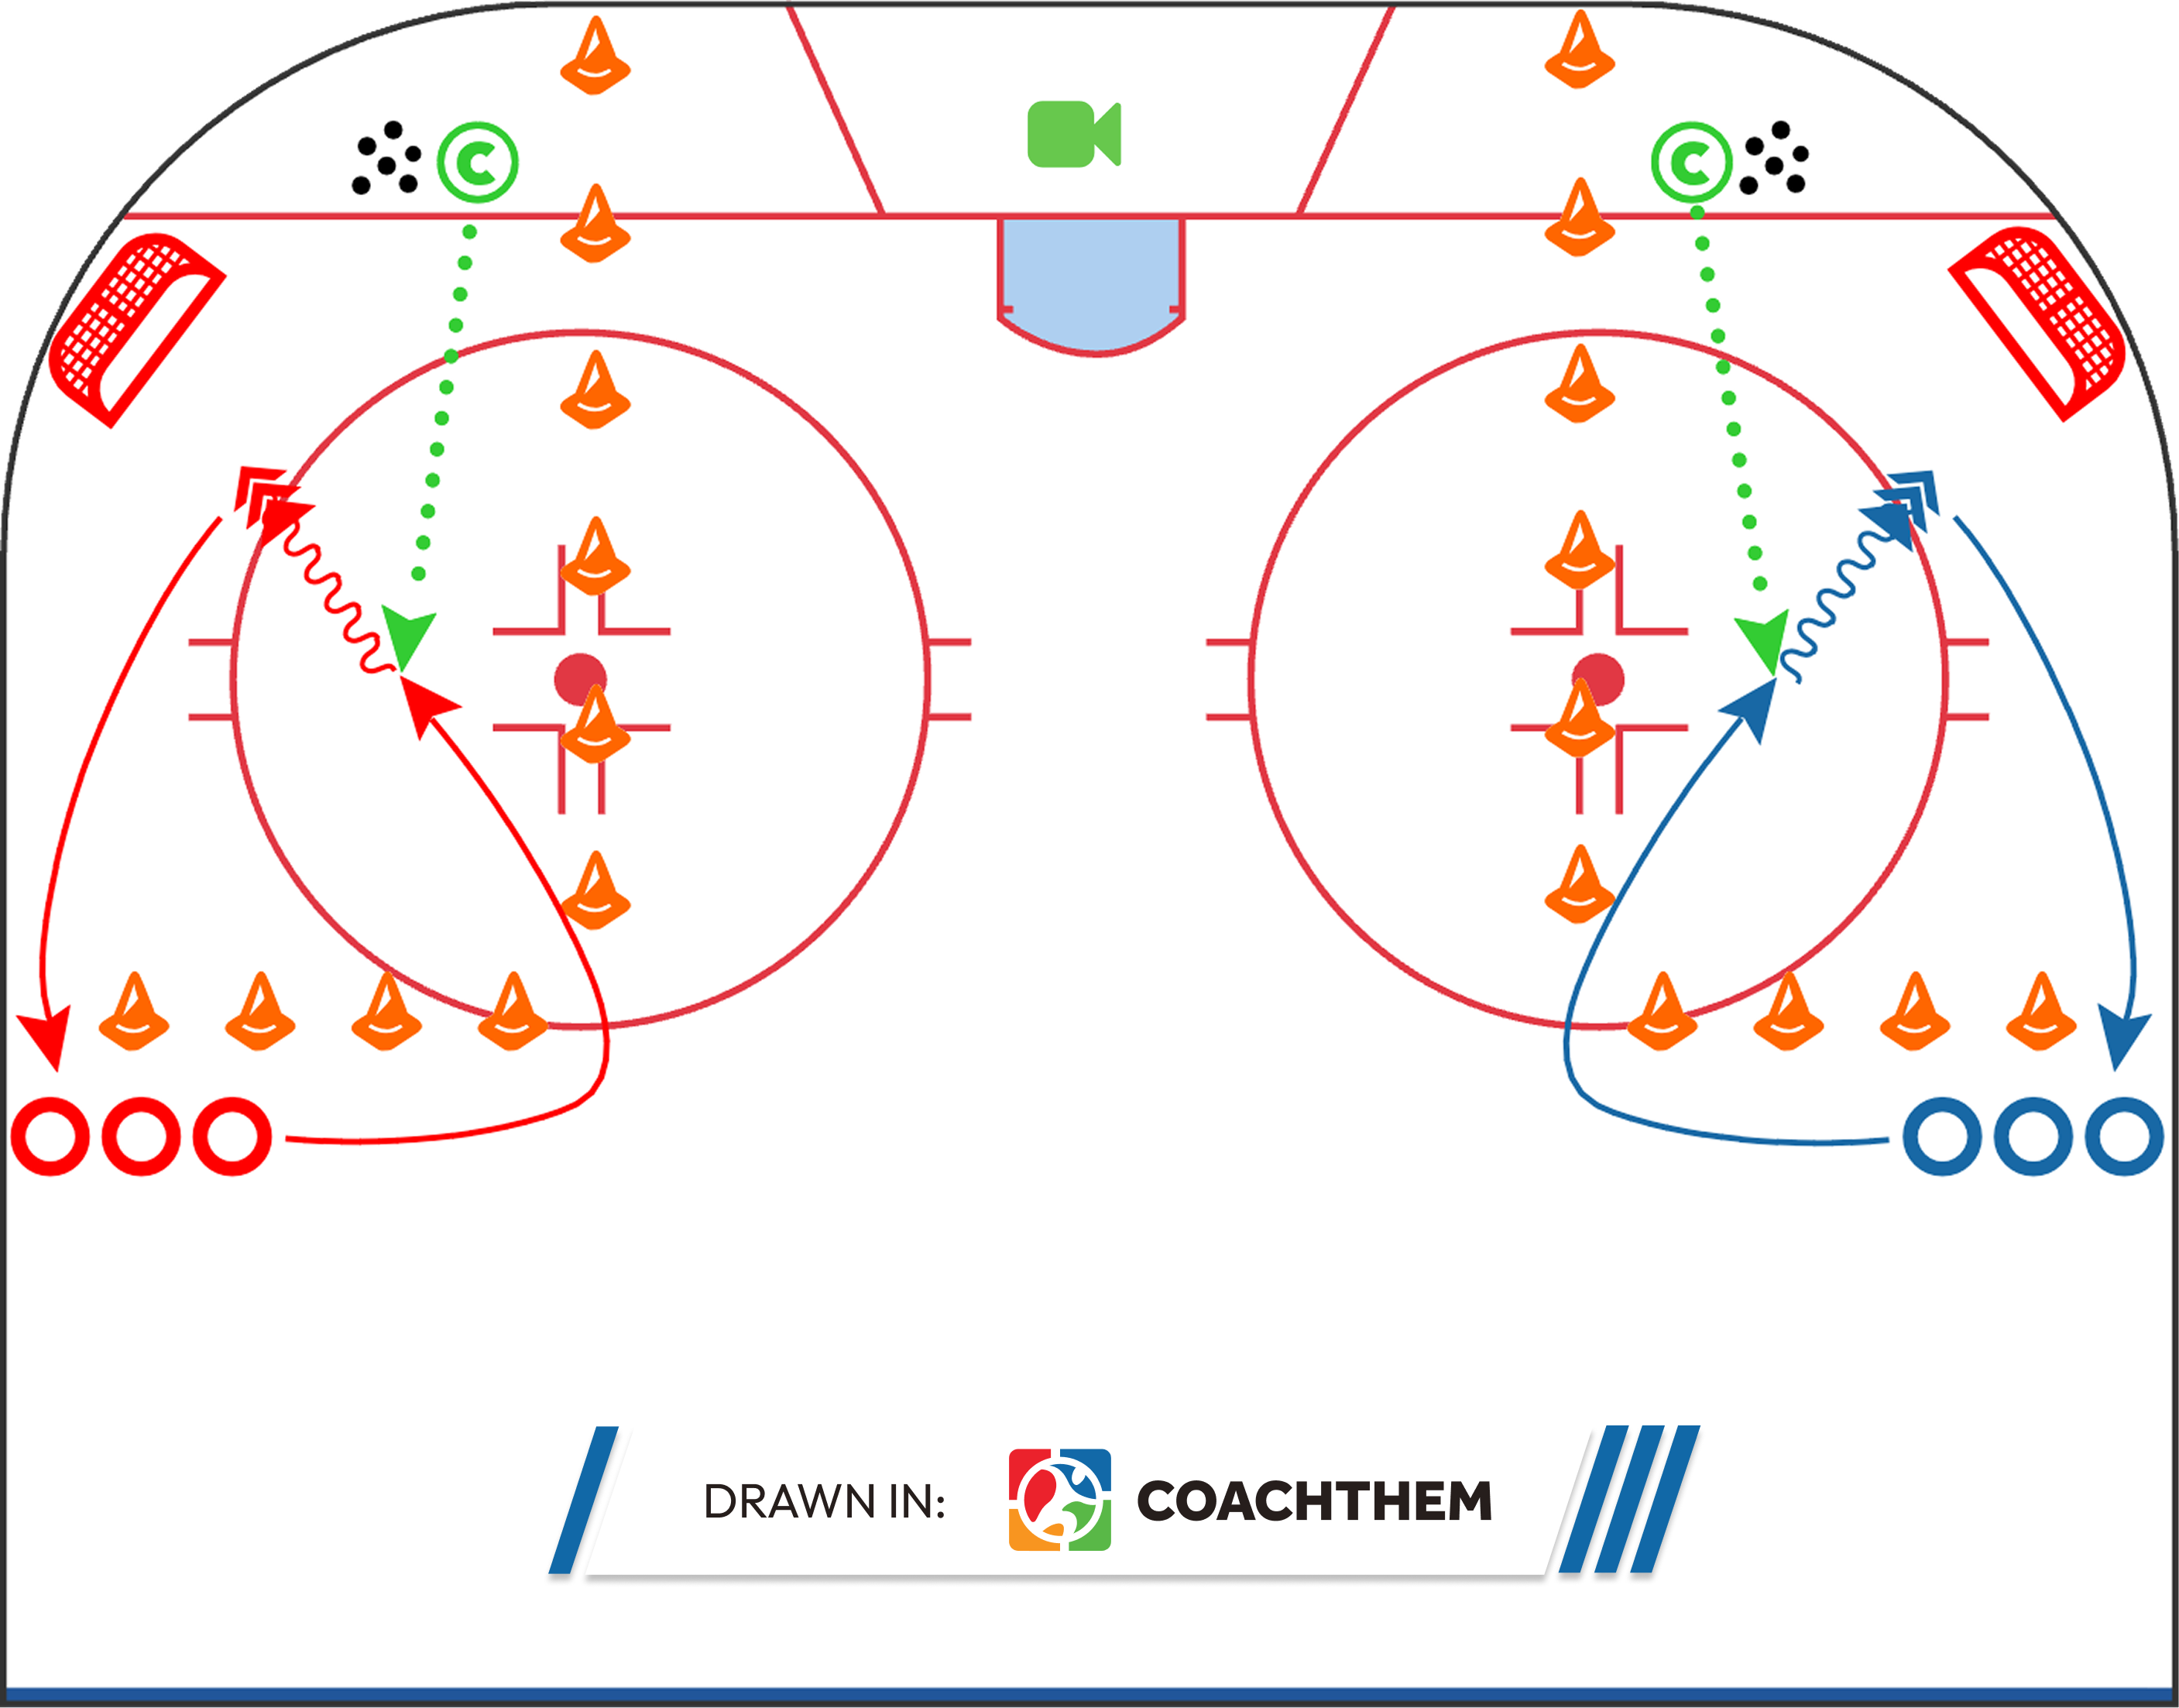
Drill concept by: @g10icehockeyacademy
Marketplace Example: Puck Control/ Quick Release Drill
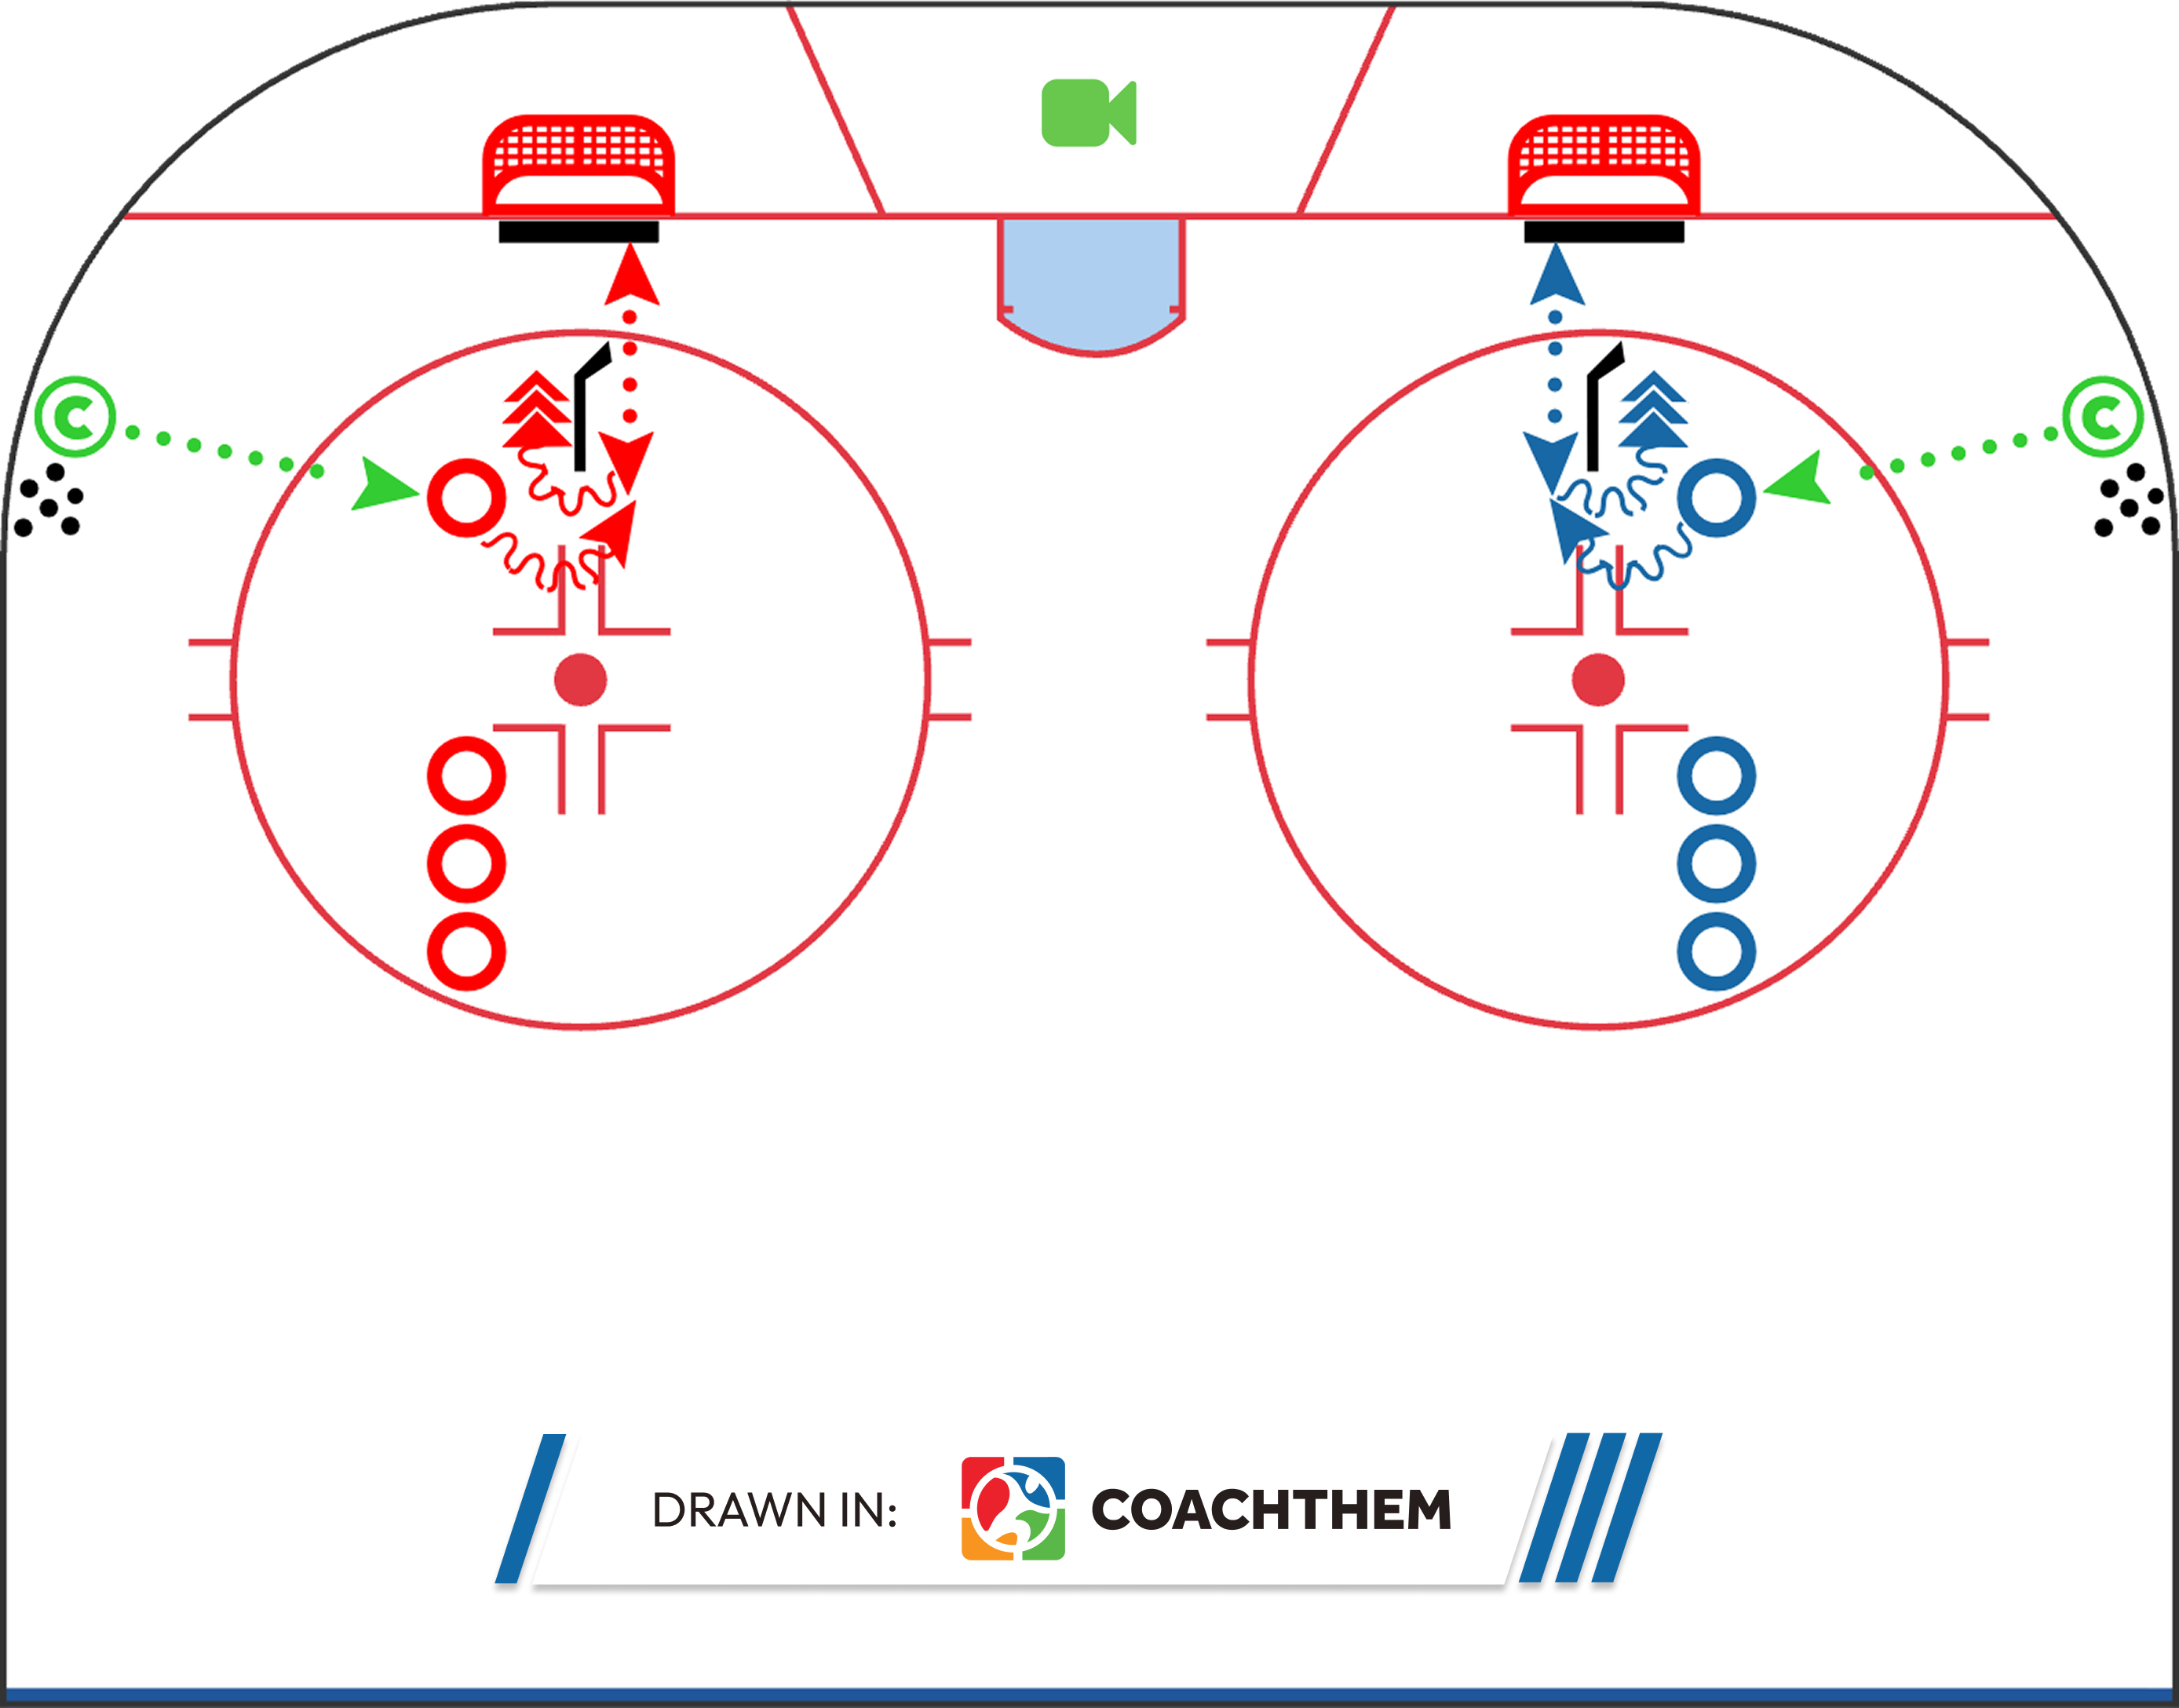
Drill concept by: @herbster_hockey
Marketplace Example: Smooth and Fast
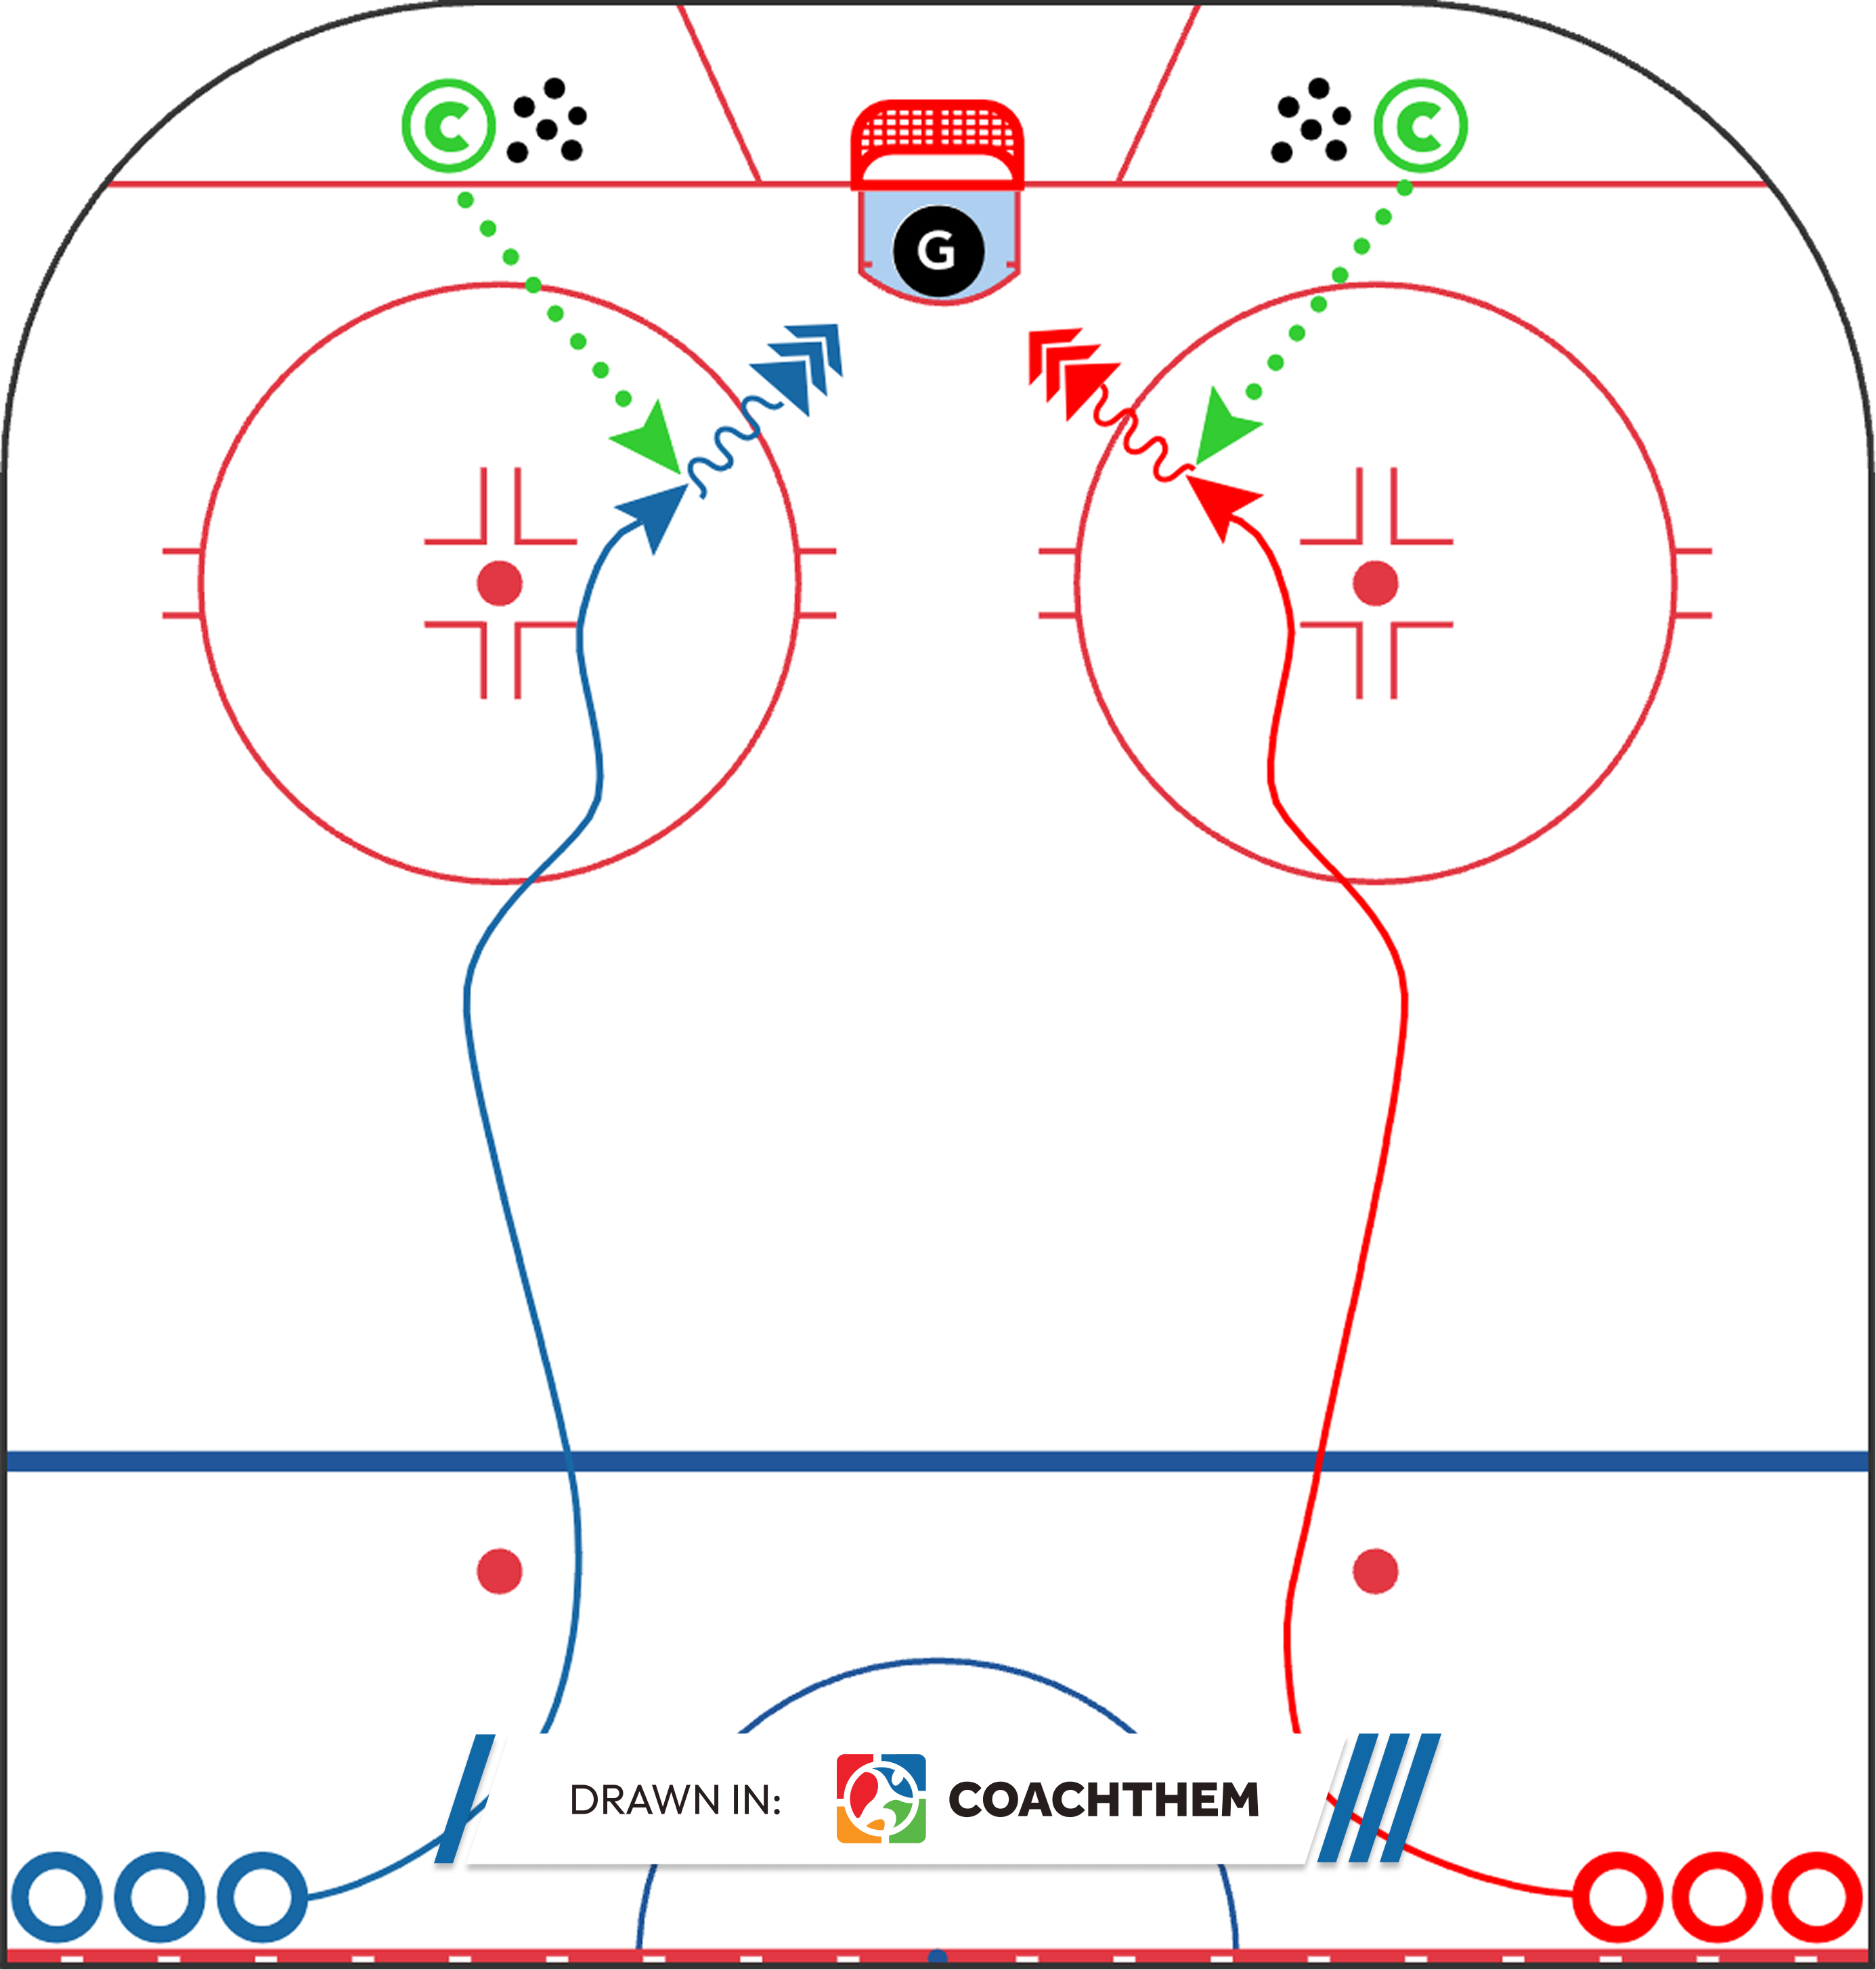
4. Shooting in Stride
Mechanics
Shooting in stride means releasing the puck while skating at speed, without gliding or stopping. Timing the release with the stride keeps the motion fluid and deceptive. Practical coaching points:
- No glide: the feet keep moving through the release
- Puck stays in the shooting box (slightly ahead/side, not behind the heels)
- Weight transfer happens mid-stride (smooth, not dramatic)
- Many players can release off the “outside” foot earlier to avoid telegraphing
- Upper body stays quiet; the release shouldn’t announce itself
Why it wins under pressure
Most defenders and goalies read shots when a player slows down. Shooting in stride removes that cue and keeps defenders reacting instead of anticipating, especially on rush chances. It also keeps the attack dangerous because the shooter can release and still drive the net immediately after.
Common mistakes
Balance and timing are the main breakdown points.
- Gliding before the shot
- Pulling the puck back
- Leaning back or standing tall
- Slapping at the puck
- Head down at release
Training drills & constraints
Continuous movement should be non-negotiable.
- Mark a “no-glide zone” before the shot
- Turn-and-fire: accelerate out of a turn, release mid-stride
- Passive defender screen while moving
- Progression: half speed → 75% → full speed
Coach tip: A lot of players try to “shoot harder” in stride and end up chopping the puck. Emphasize clean contact and surprise. A quick, accurate stride shot beats a harder shot that’s late.
Marketplace Example: Shooting in Stride Drill
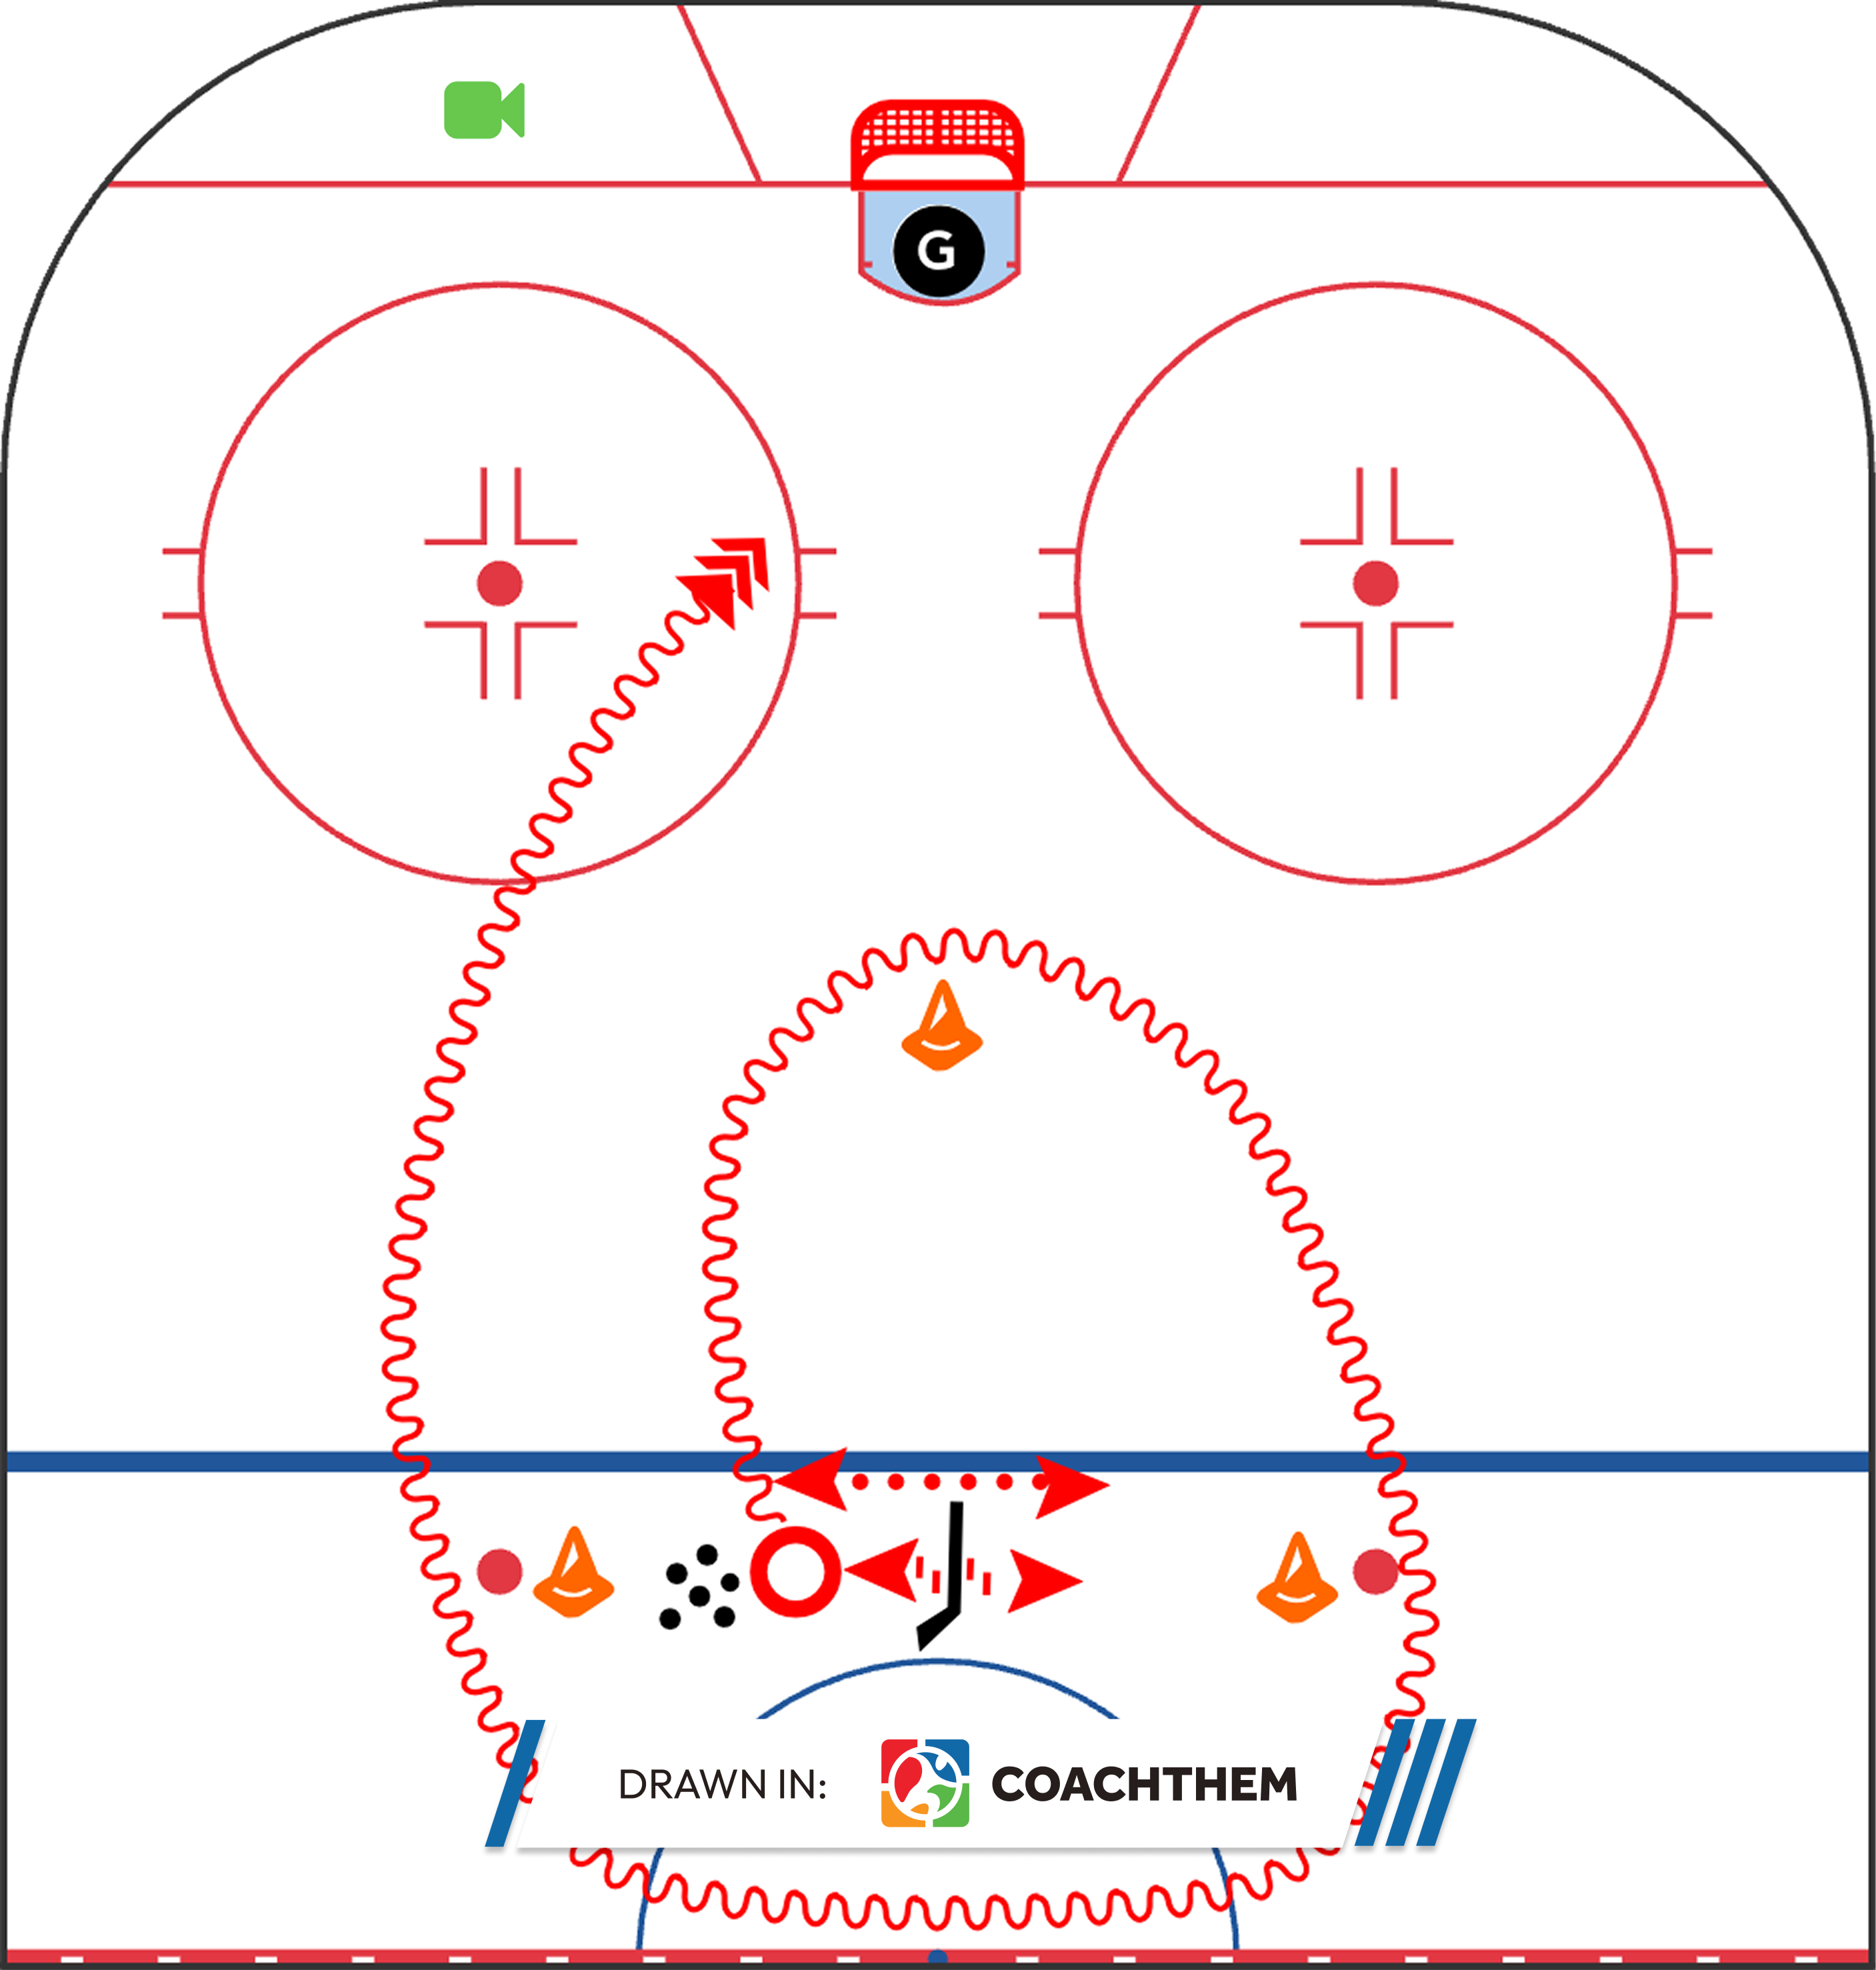
Drill concept by: @kyledutrahockey
Marketplace Example: Adjusting the Sight
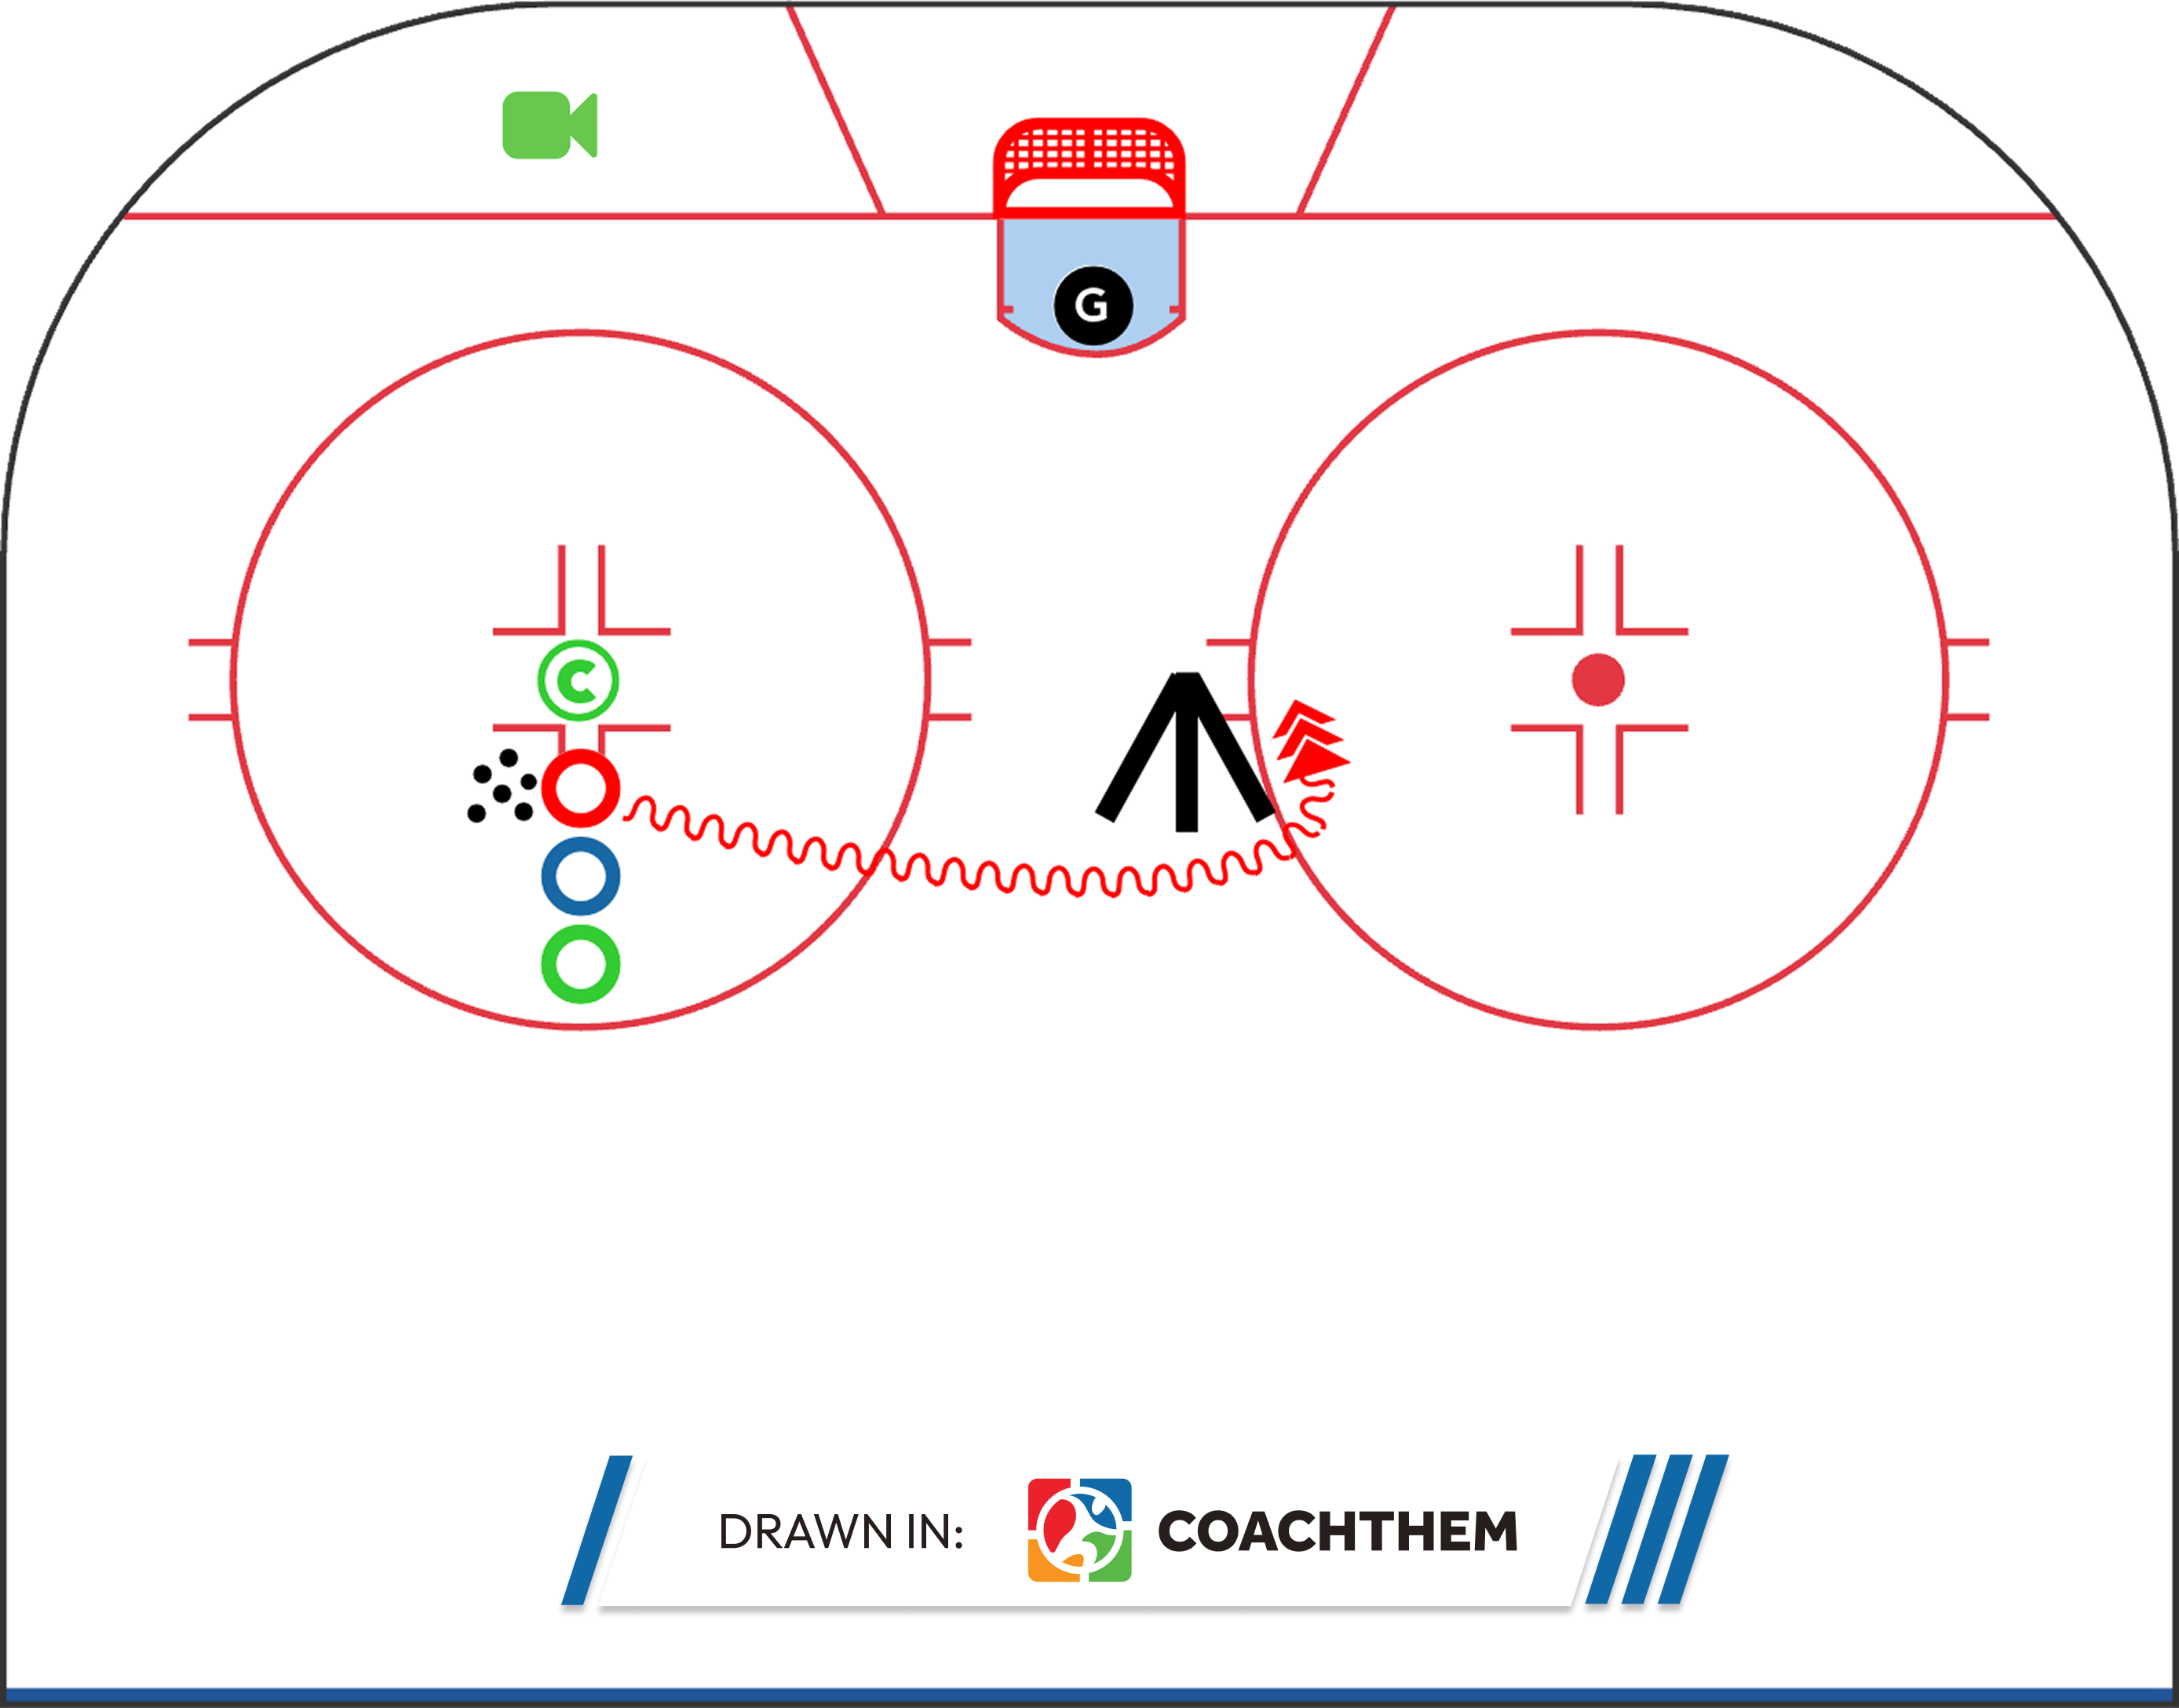
Drill concept by: @alex_kercs
Marketplace Example: Shoot in Stride
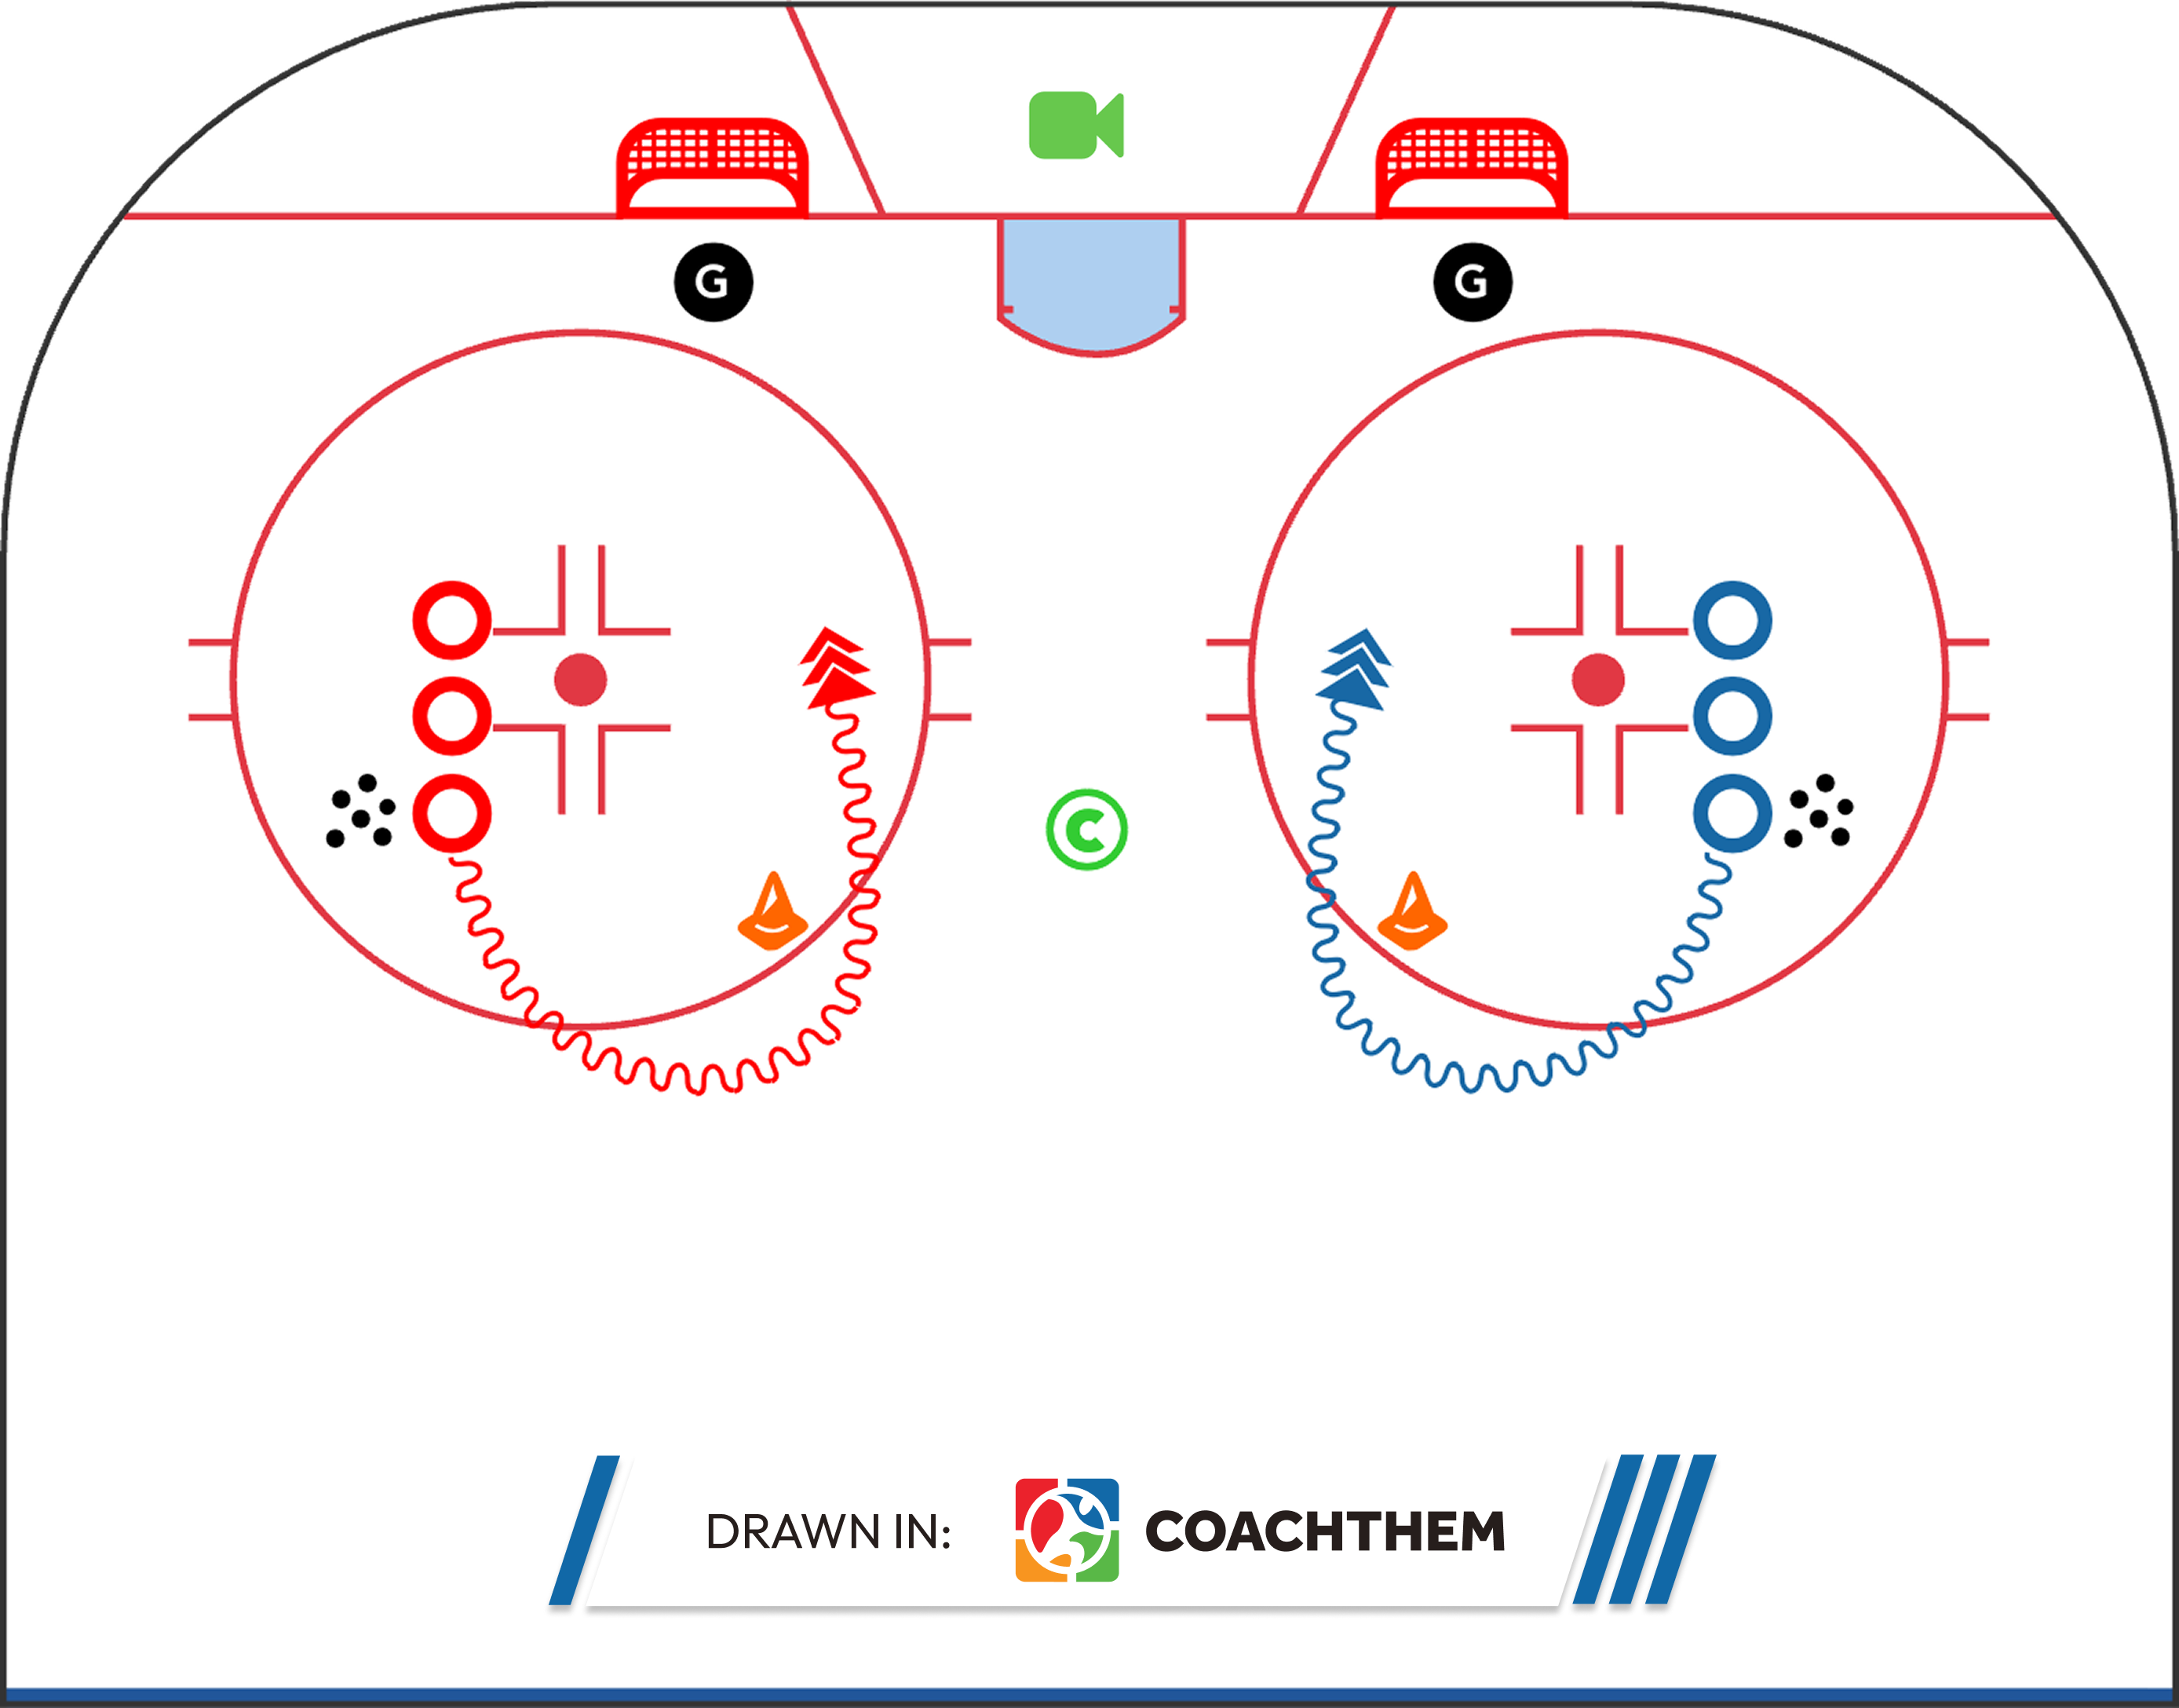
Drill concept by: @rr_playerdevelopment
5. In-Tight Backhand Finish
Mechanics
A strong backhand relies on proper hand spacing, puck position close to the body, and leg-driven power. The blade cups the puck and opens on release to create lift and control. Details coaches should look for:
- Hands roughly hip-width apart (not stacked together)
- Puck stays close to the skates for leverage
- Bottom hand actively pulls through (not a passive flip)
- Knees bent, legs drive (power comes from the lower body)
- Follow-through still aims at a target (not a panic shovel)
Why it wins under pressure
In tight situations, players often don’t have time to shift to forehand. A confident backhand finish makes players dangerous on either side of their body and is harder for goalies to read at close range.
Common mistakes
The backhand is often under-trained, leading to hesitation.
- Never practicing it
- Puck too far away
- Flat blade contact
- No leg drive
- Avoiding the backhand under pressure
Training drills & constraints
Repetition builds confidence.
- Backhand-only finishing reps from the crease
- Corner-to-net backhand drives with light pressure
- Rebound drill: second chances must be backhand
- Small-area game: backhand goals worth double
Coach tip: If you want backhands in games, you have to “allow them” in practice. Players avoid backhands because they feel risky. Reward the attempt when the mechanic is right, not only when it scores.
Marketplace Example: Quick Backhand Shots
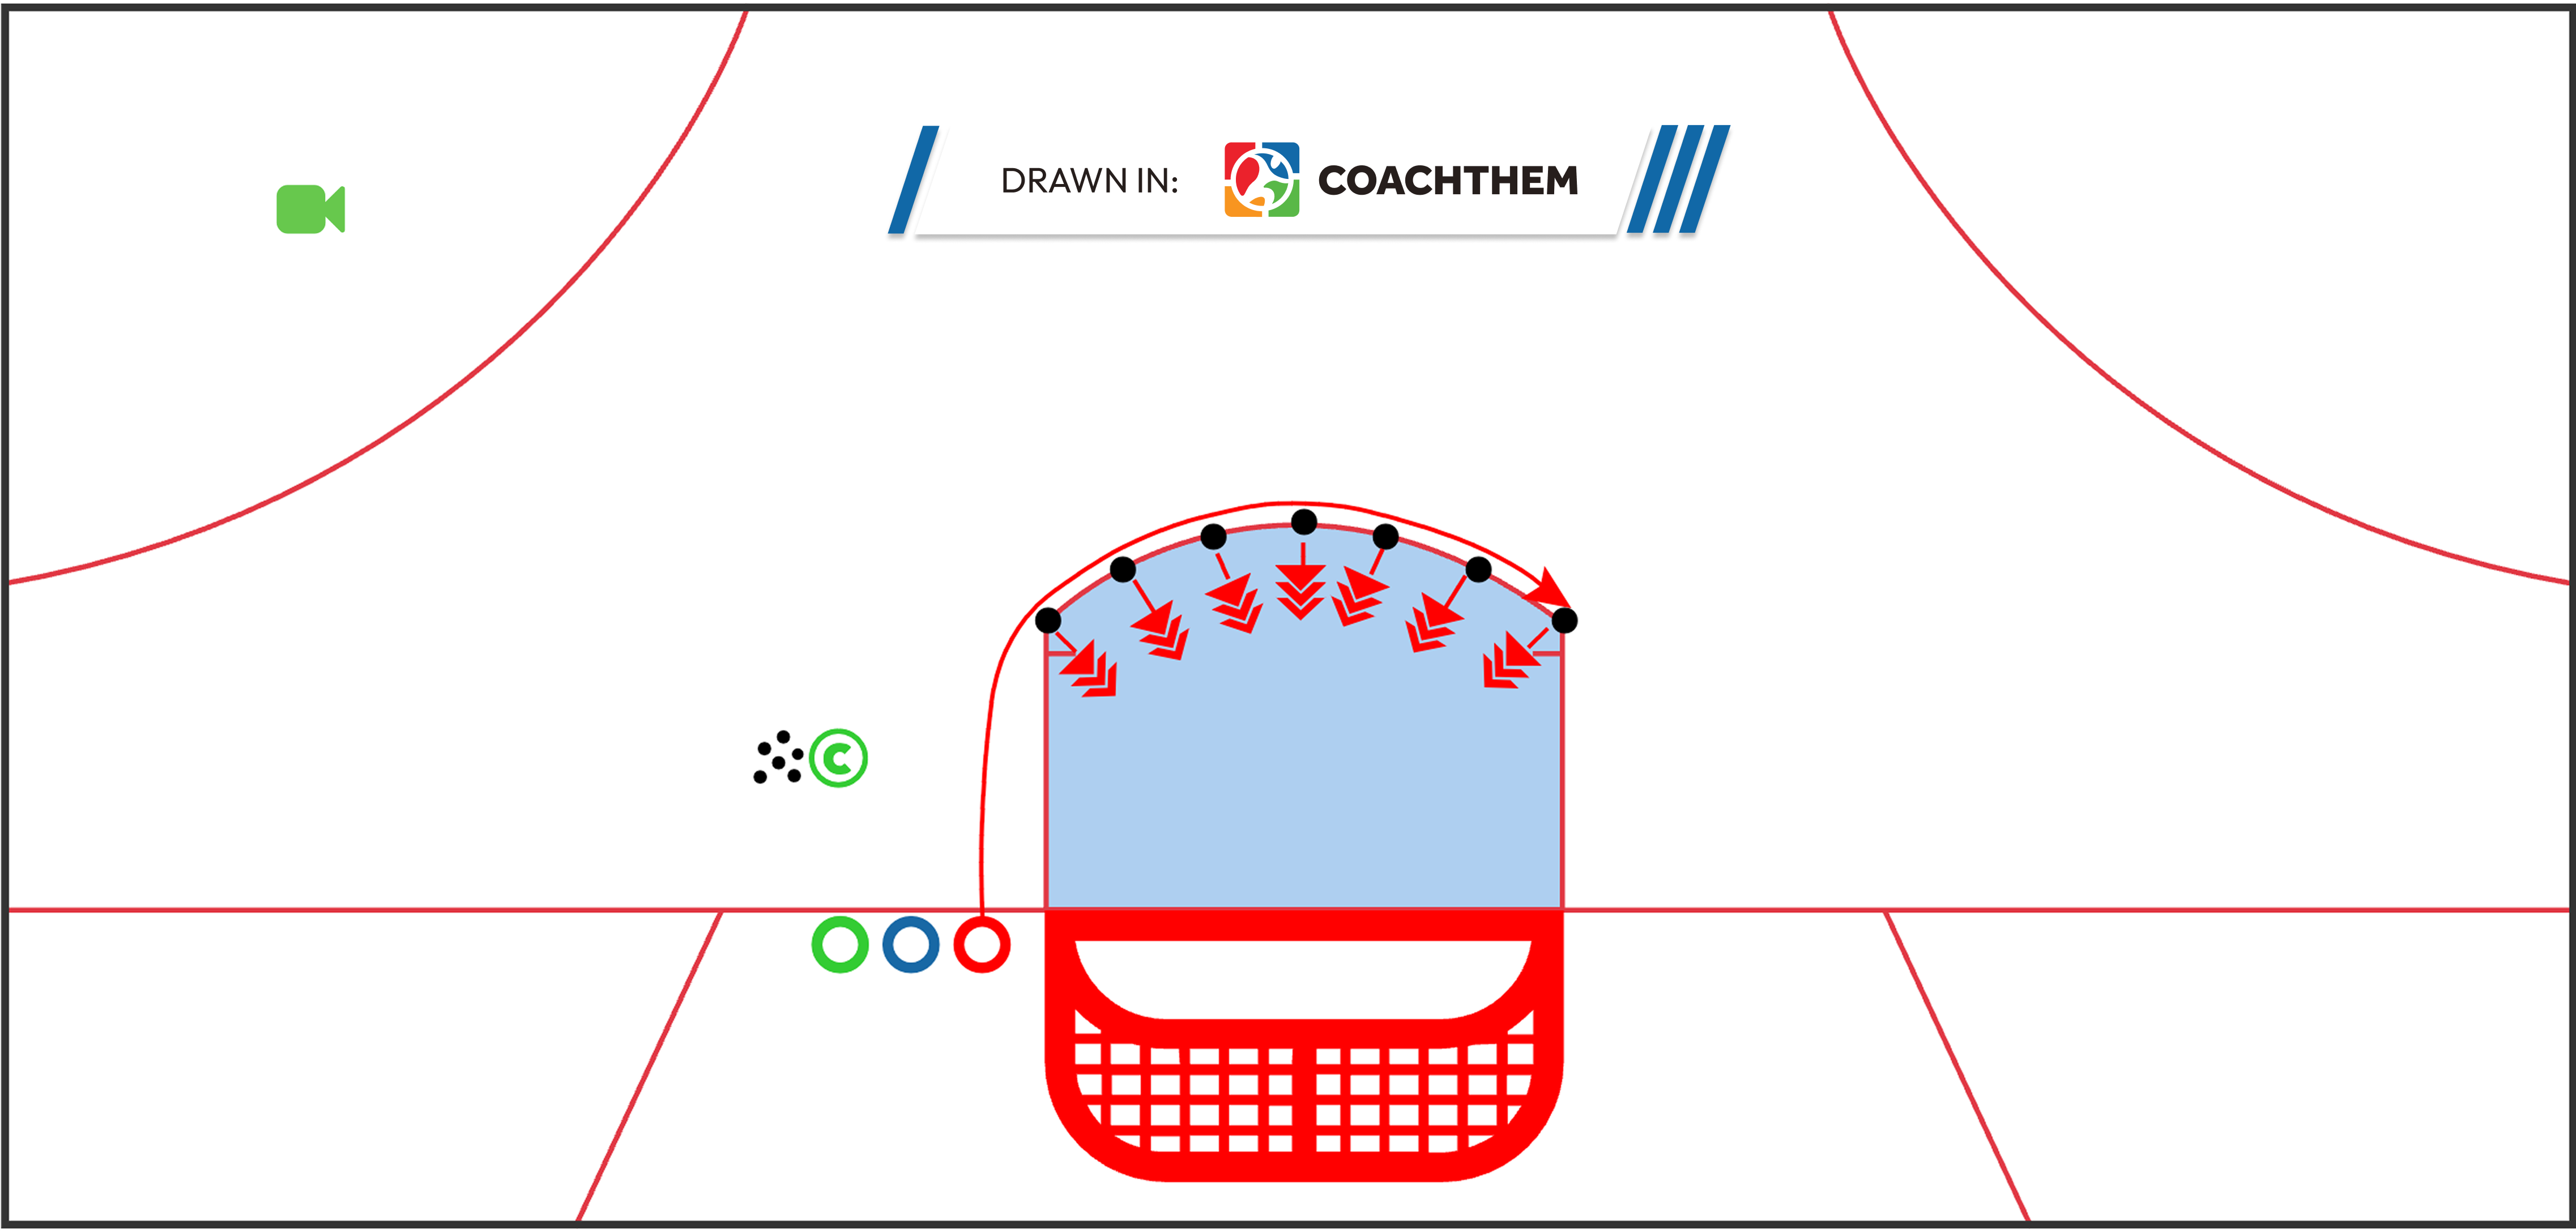
Drill concept by: @torataro2012
Marketplace Example: Backhand Skills
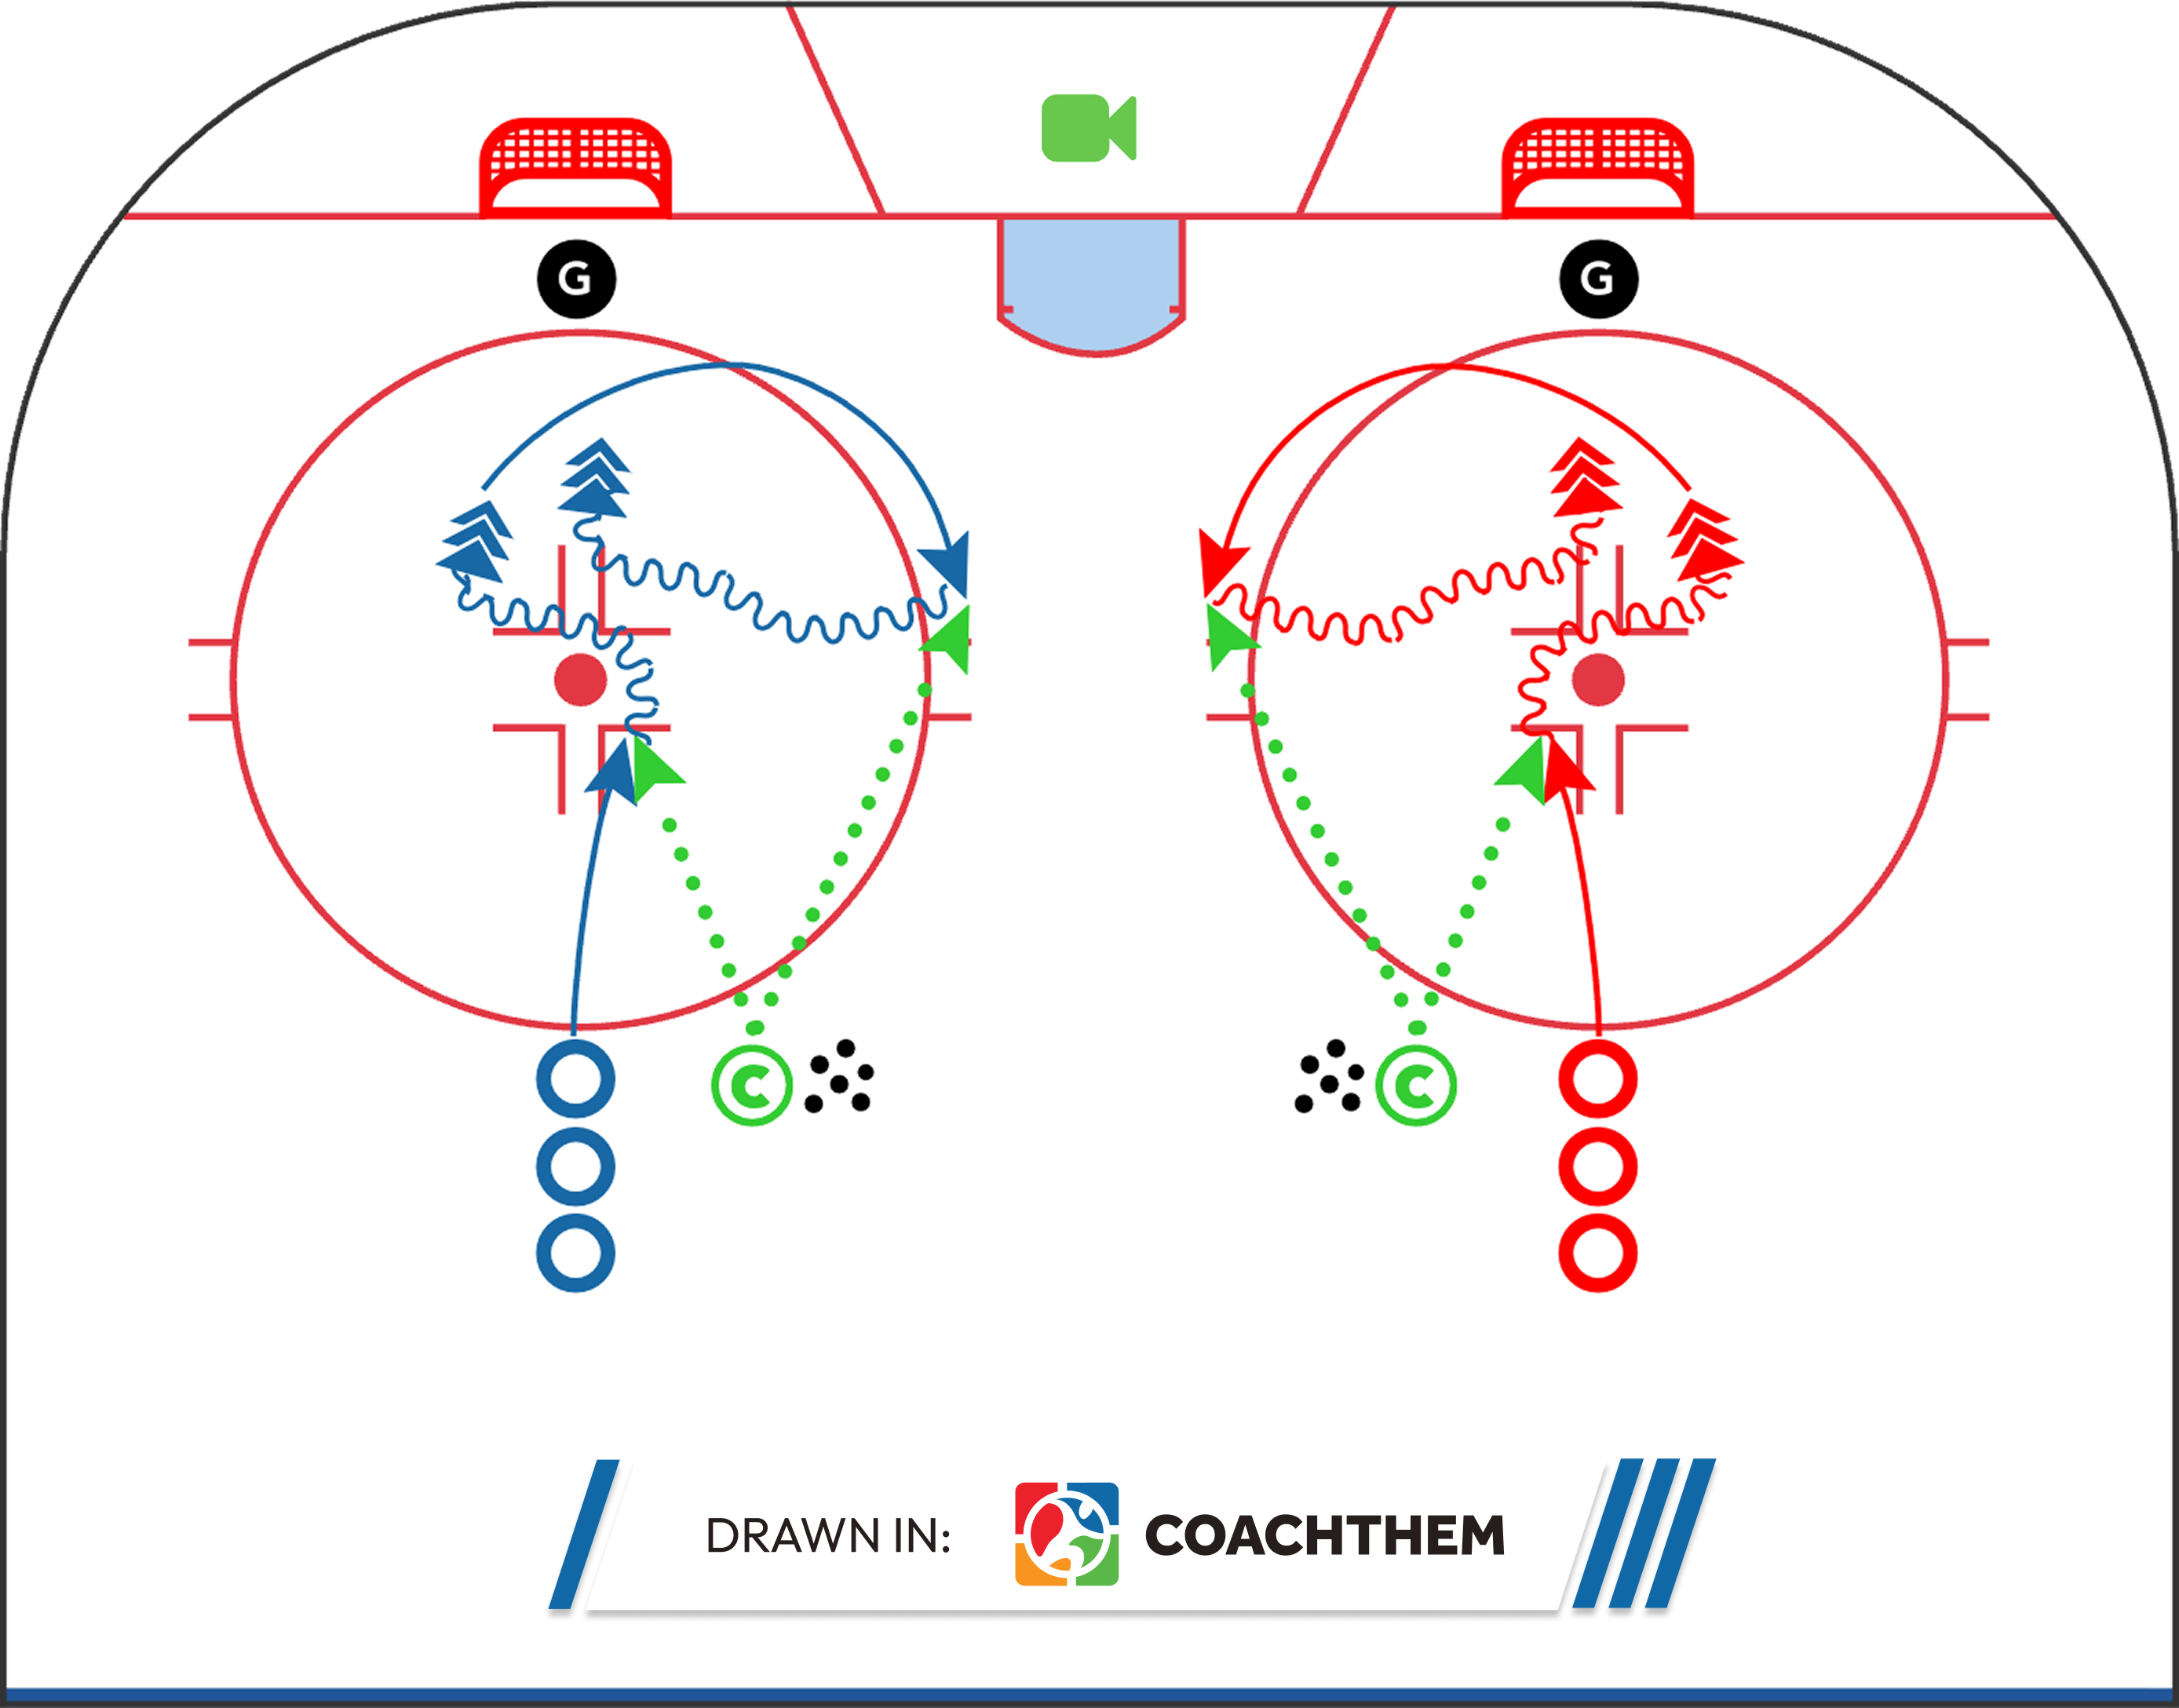
Drill concept by: @cd.development
Marketplace Example: Backhand Workshop
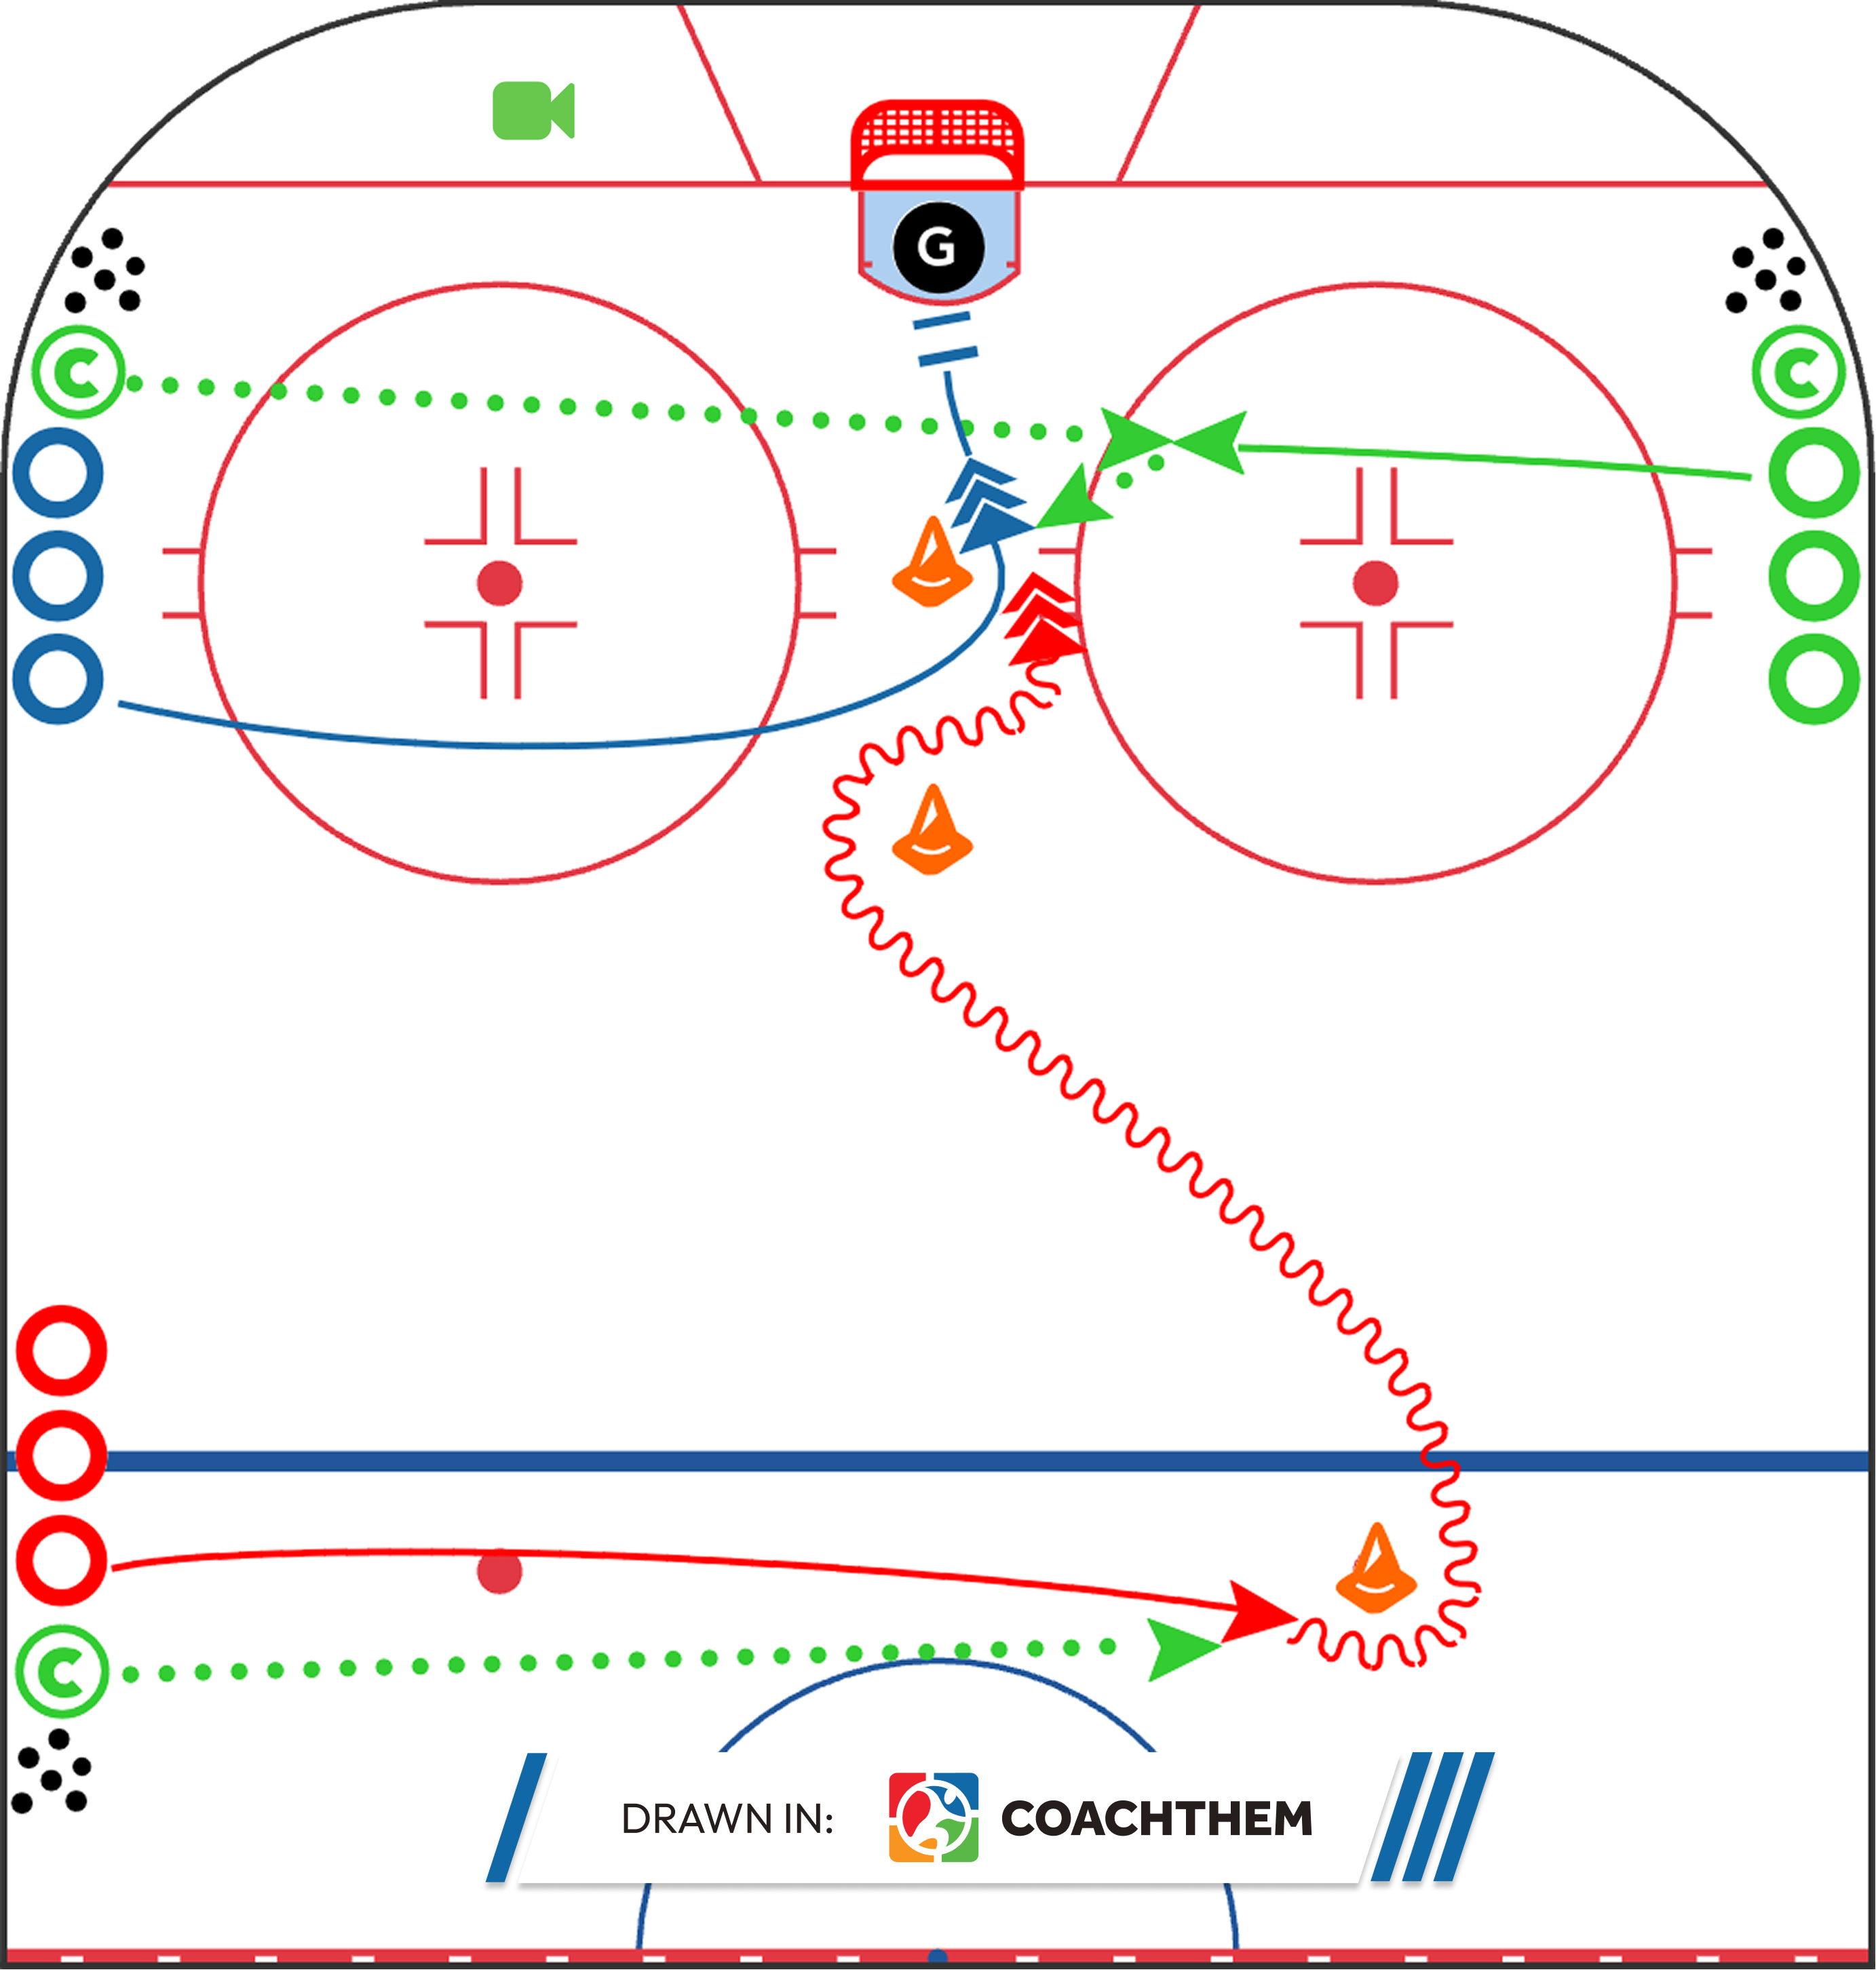
Drill concept by: @cd.development
Frequently Asked Questions
How can I teach players to shoot under pressure in hockey?
Start by practicing quick-release shots in drills and gradually add defensive pressure. Emphasize keeping eyes on the target and using game-like scenarios so players get comfortable shooting with opponents closing in. Consistent repetition in practice will build confidence and muscle memory for real game situations.
What drills help players get shots off quicker under pressure?
Drills like the 1-on-1 chase (attacker vs. backchecker) or rapid catch-and-release shooting drills are excellent. Also, small-area games force quick decision-making. These exercises train players to release the puck faster and not over-handle it when pressured.
How do I improve my team’s shooting accuracy during high-pressure situations?
Focus on targeted shooting drills. For example, have players aim for the corners after doing sprints or battling for a puck to simulate fatigue. Reinforce shot quality over quantity. You can also use video feedback (if available) to show players how adjusting their stance or following through under pressure improves accuracy.
What is the “catch-and-release” shooting technique in hockey?
“Catch-and-release” refers to receiving a pass and shooting in one fluid motion without stickhandling. It’s a vital technique for high-pressure play because it gives defenders and goalies almost no time to react. Practicing this helps players get shots off even when they’re being tightly covered.
How can coaches simulate game pressure in hockey shooting drills?
Coaches can simulate pressure by adding token defenders in drills, setting time limits (e.g. shoot within 3 seconds), or running drills in confined spaces. Another method is to create competition: e.g., reward a point for goals scored under defensive pressure in scrimmages. The CoachThem platform allows you to diagram these competitive drills and adjust rules easily, so you can incrementally raise the pressure as players improve.